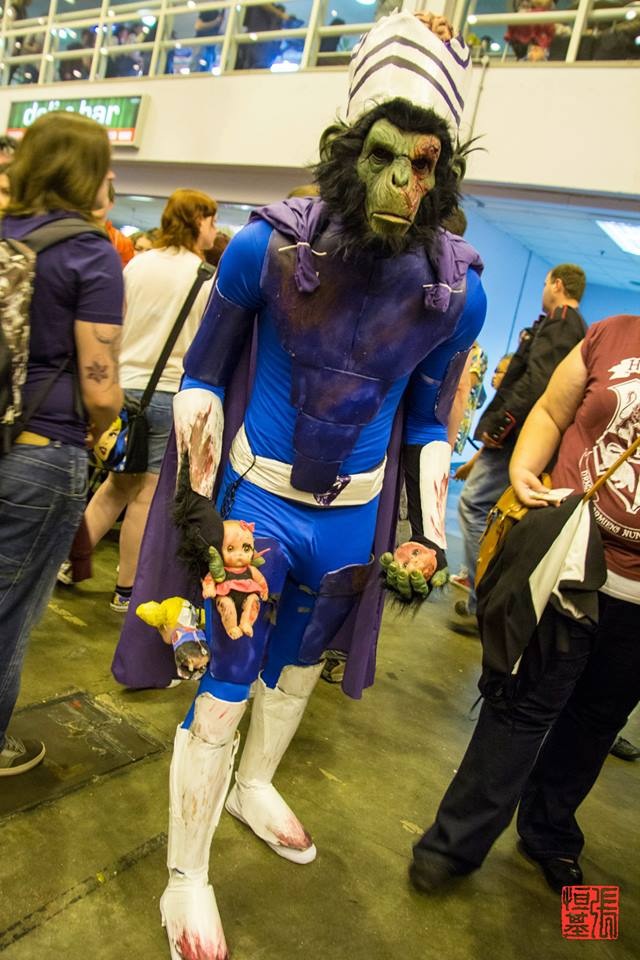
LFCC 2014: Creating Mojo Jojo
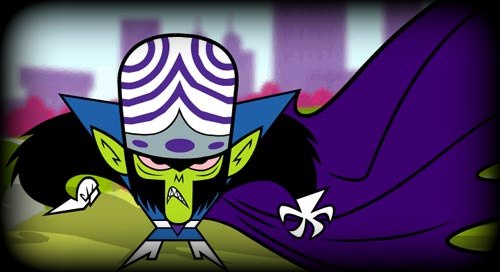
Most of us are at least vaguely familiar with the Powerpuff Girls and those of us that are know that their greatest enemy was always Mojo Jojo. Now it may have been the 2014 Powerpuff Girls special (which I'm not ashamed to say I watched) or it might have been that I was looking for something unique to cosplay as for the first time but by some stroke of luck I rediscovered the domineering character that is Mojo Jojo and decided to cosplay him after seeing that no one had really done him justice (except for an amazing female version).
In this post I will detail as much as possible how I went about creating my version of Mojo Jojo, the issues that I had to overcome during the process and how I hope to improve the cosplay.
Idea Generation
The first thing I did when I decided to do Mojo Jojo was to look at previous Mojo Jojo cosplays and as you know I did not find much that was anything less than comical in their interpretation. Presented with this situation I sought out any artwork of Mojo Jojo that I could find.
Below is a compilation of what I eventually based my design of Mojo Jojo on.
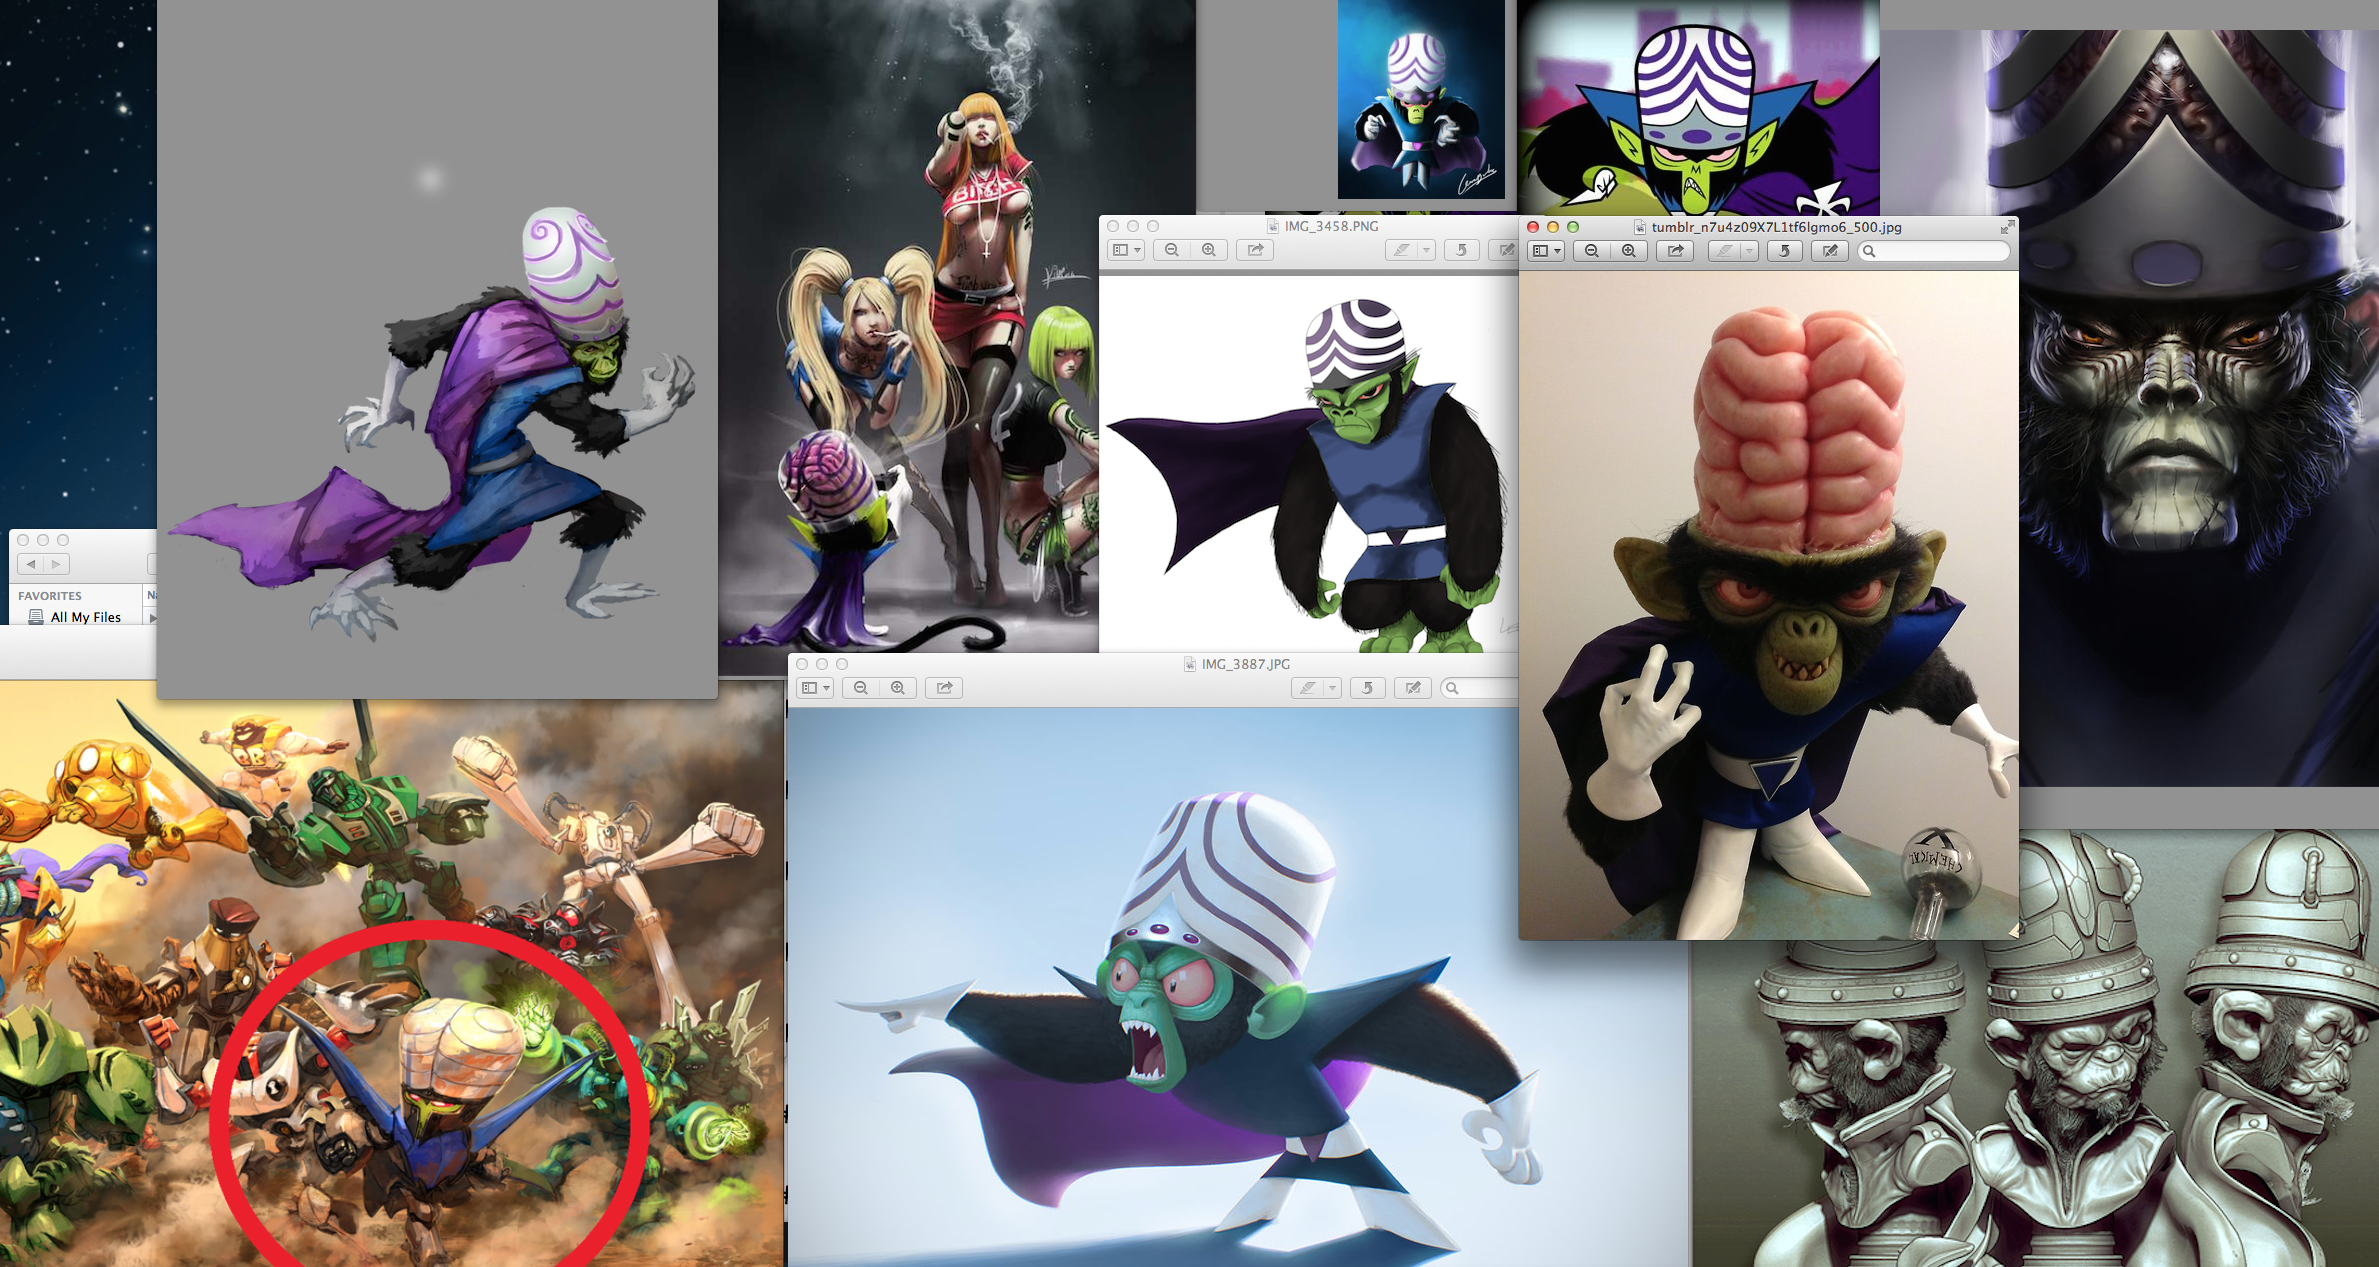
From looking at the height of Mojo Jojo in the cartoon and how others had tried to imitate his costume without taking into account his size I decided that altering his costume to partially armoured would be better in the long run.
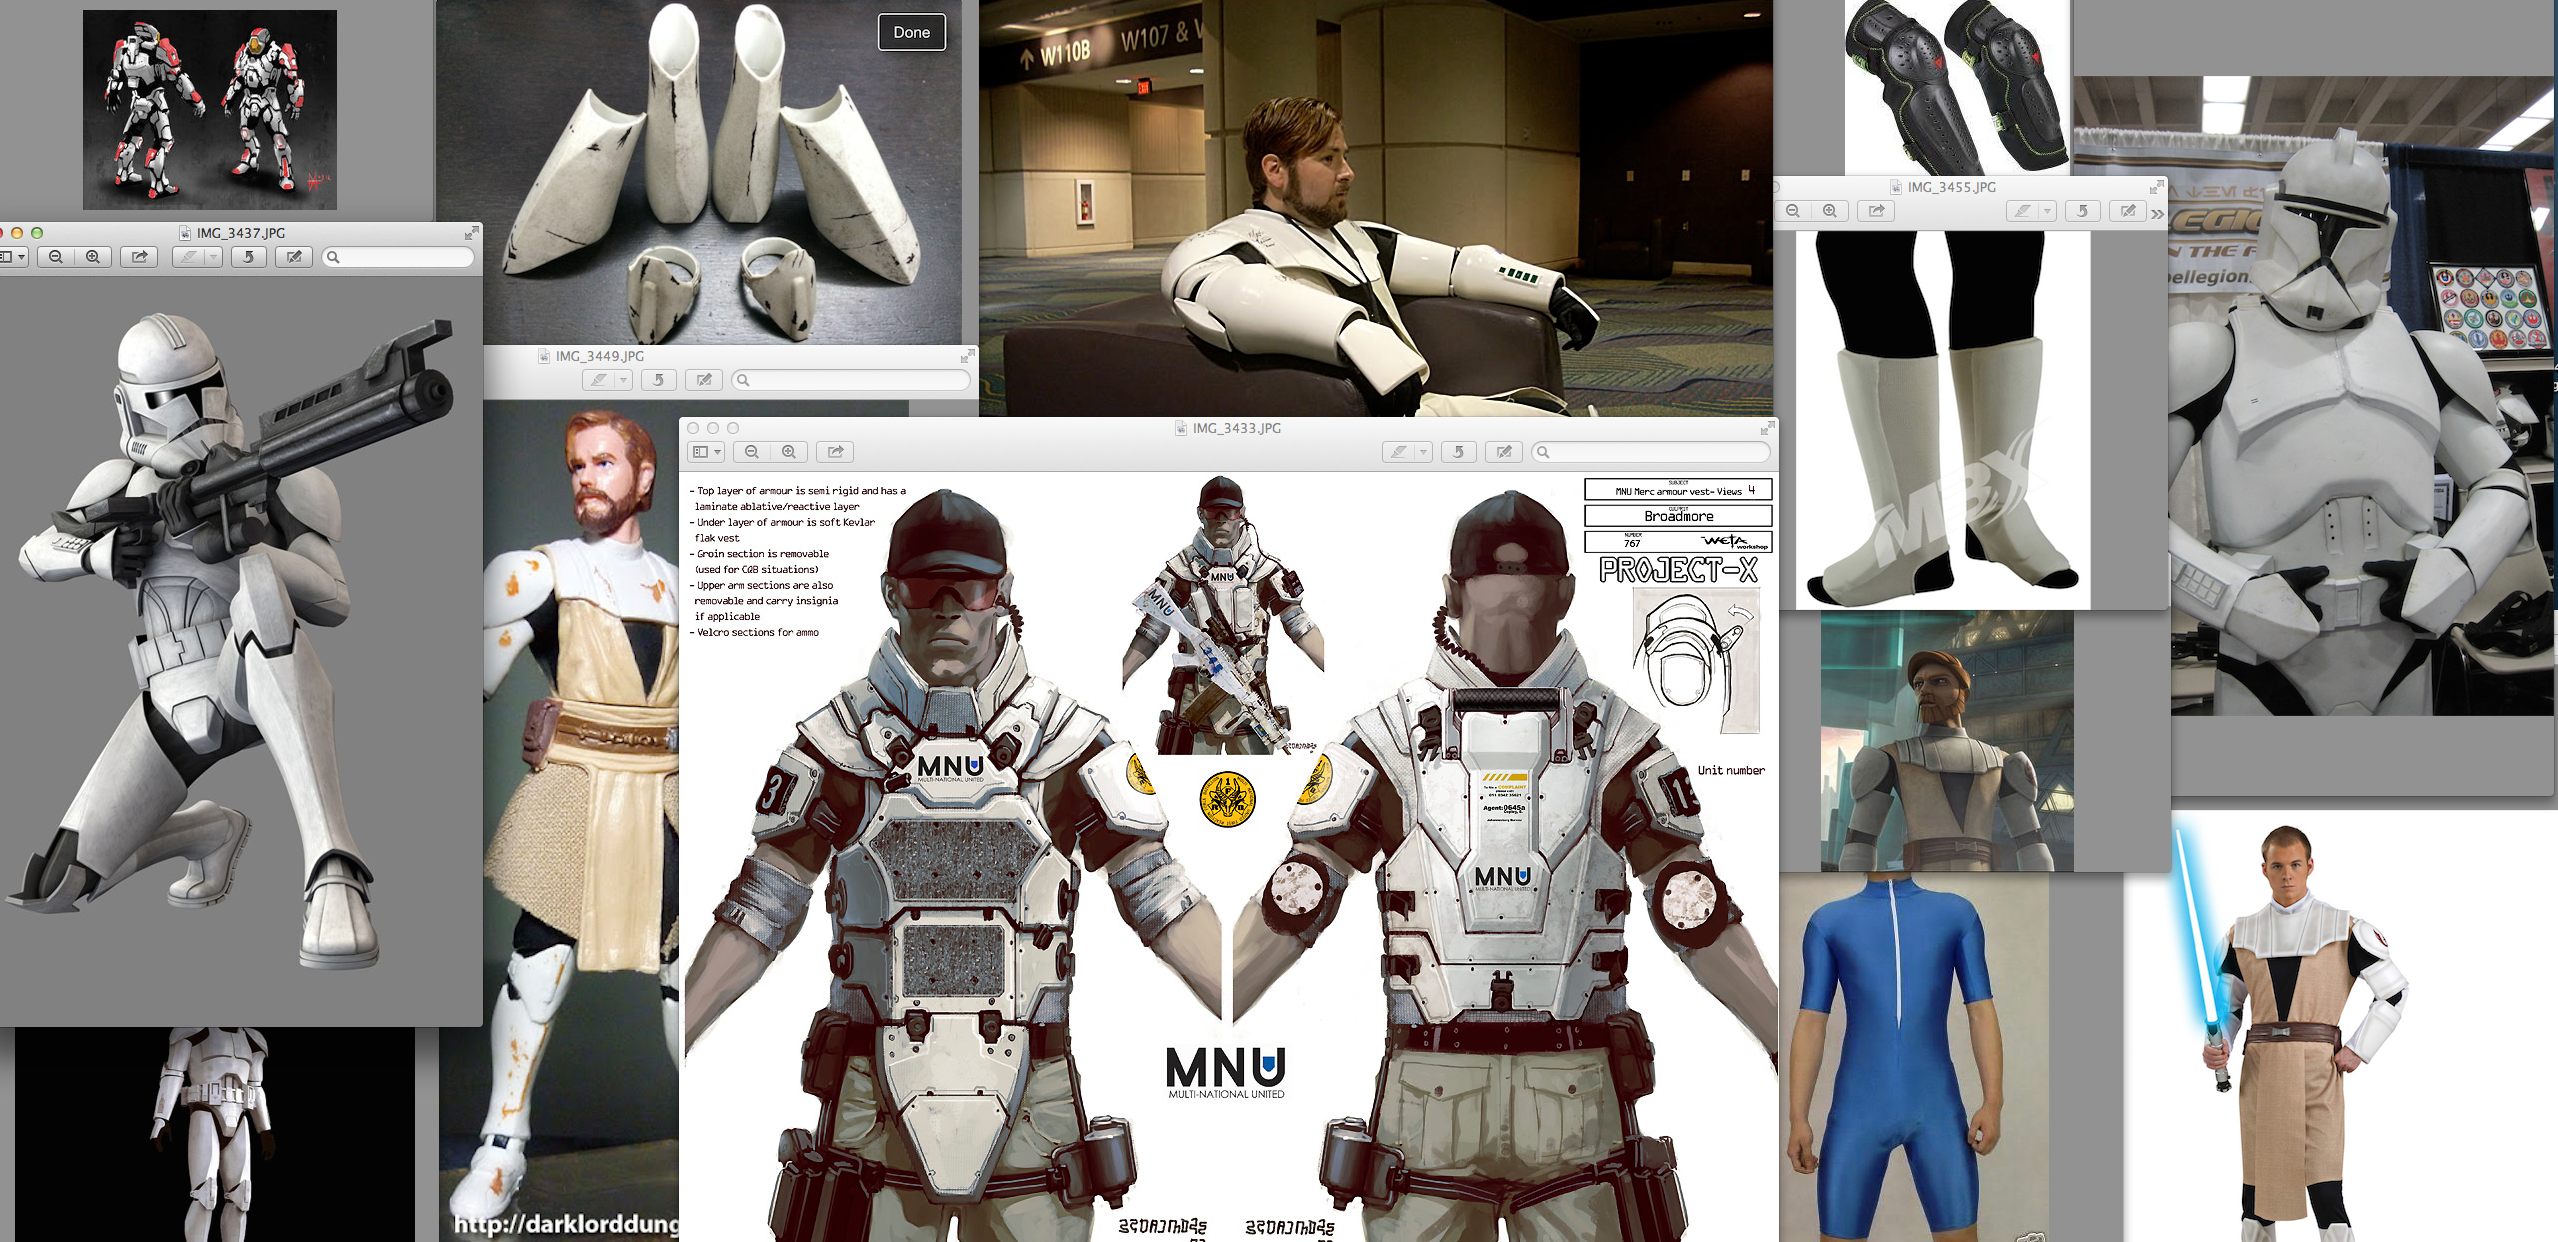
I looked at a number of different ways that I could do it, deciding that something similar in style to the storm trooper armour or Obi-wan's would be best. I also found a possible way to still include the signature blue that Mojo Jojo was known for.
Taking all of this into account I set about sketching.
Sketching
Sketching was an on going process from before I had any materials to create the costume to when I did. It made it easier to generate my ideas without having to needlessly waste materials on something that might not neccesarily work.
I have to say that when I started sketching that it had been a while since I'd done any so it was not great. It was also while I was gathering ideas on what the armour would look like, I had yet to research materials and I hadn't measured myself so there really was not a lot of detail
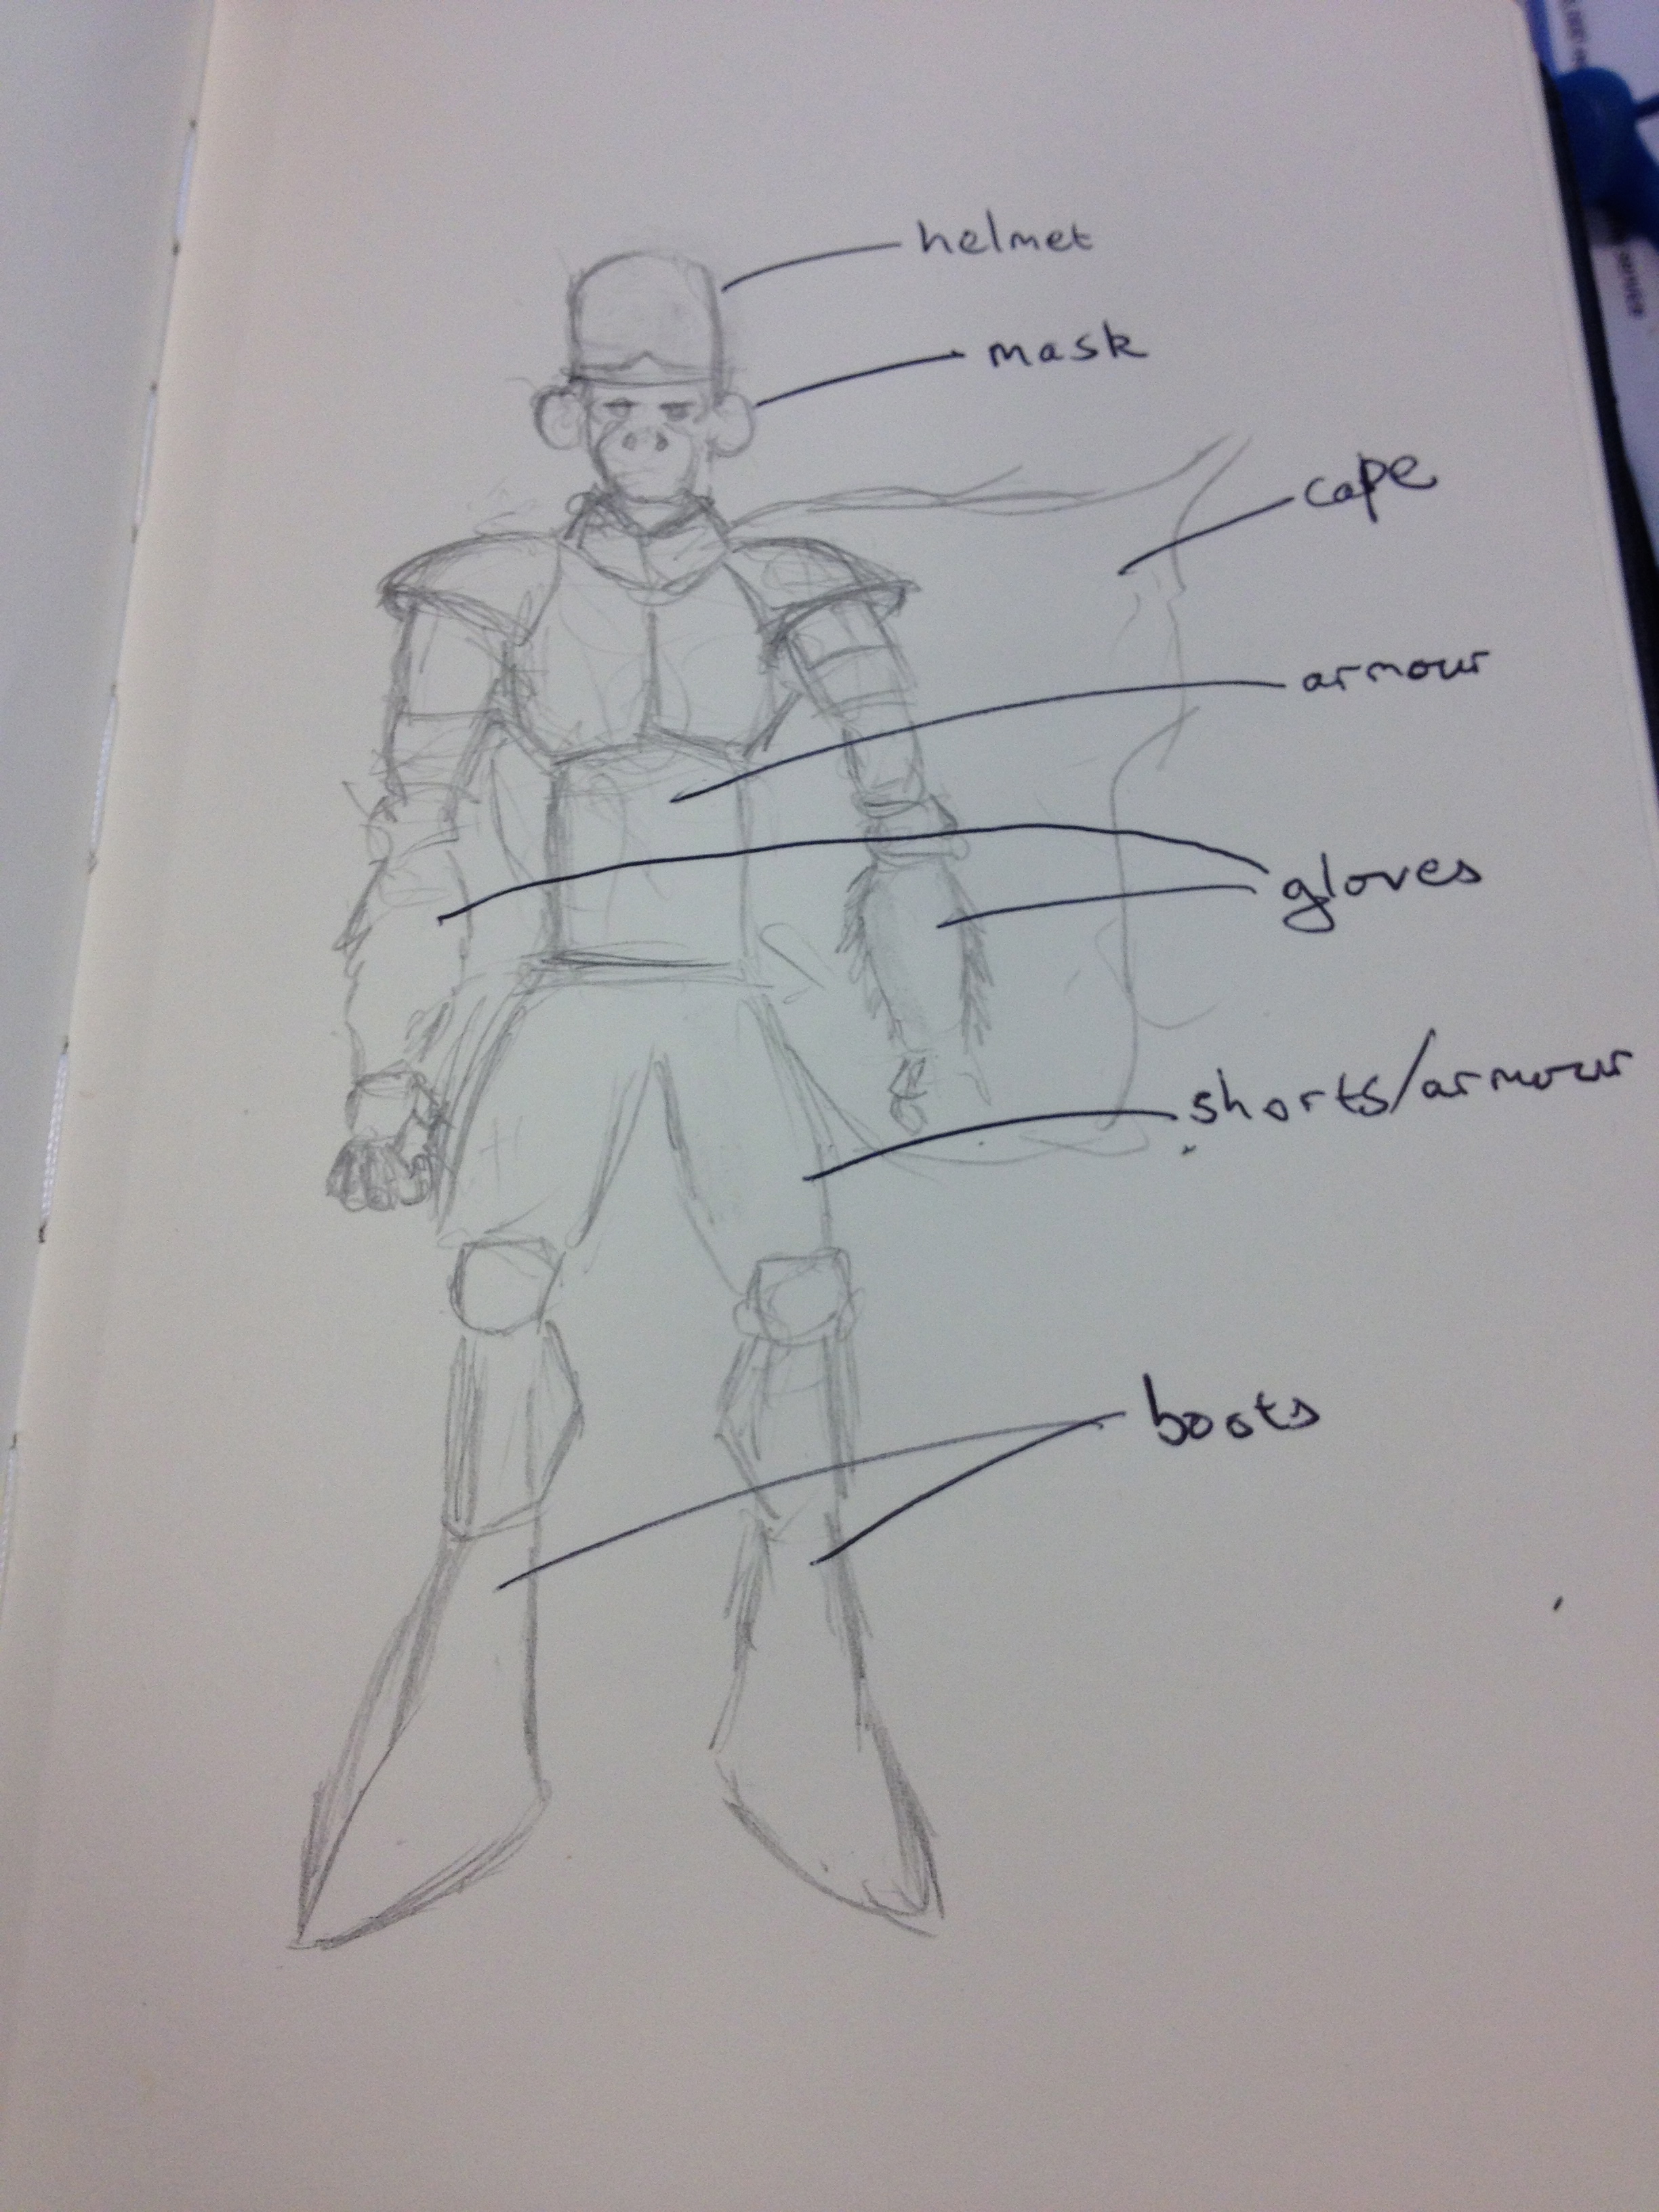
As time went on I reimagined how the cosplay would look again and again.

This is a more detailed sketch that came out of my research into the armour and artwork as well as thinking how it would sit on me.
There is even a note about the helmet which I found especially hard to design.
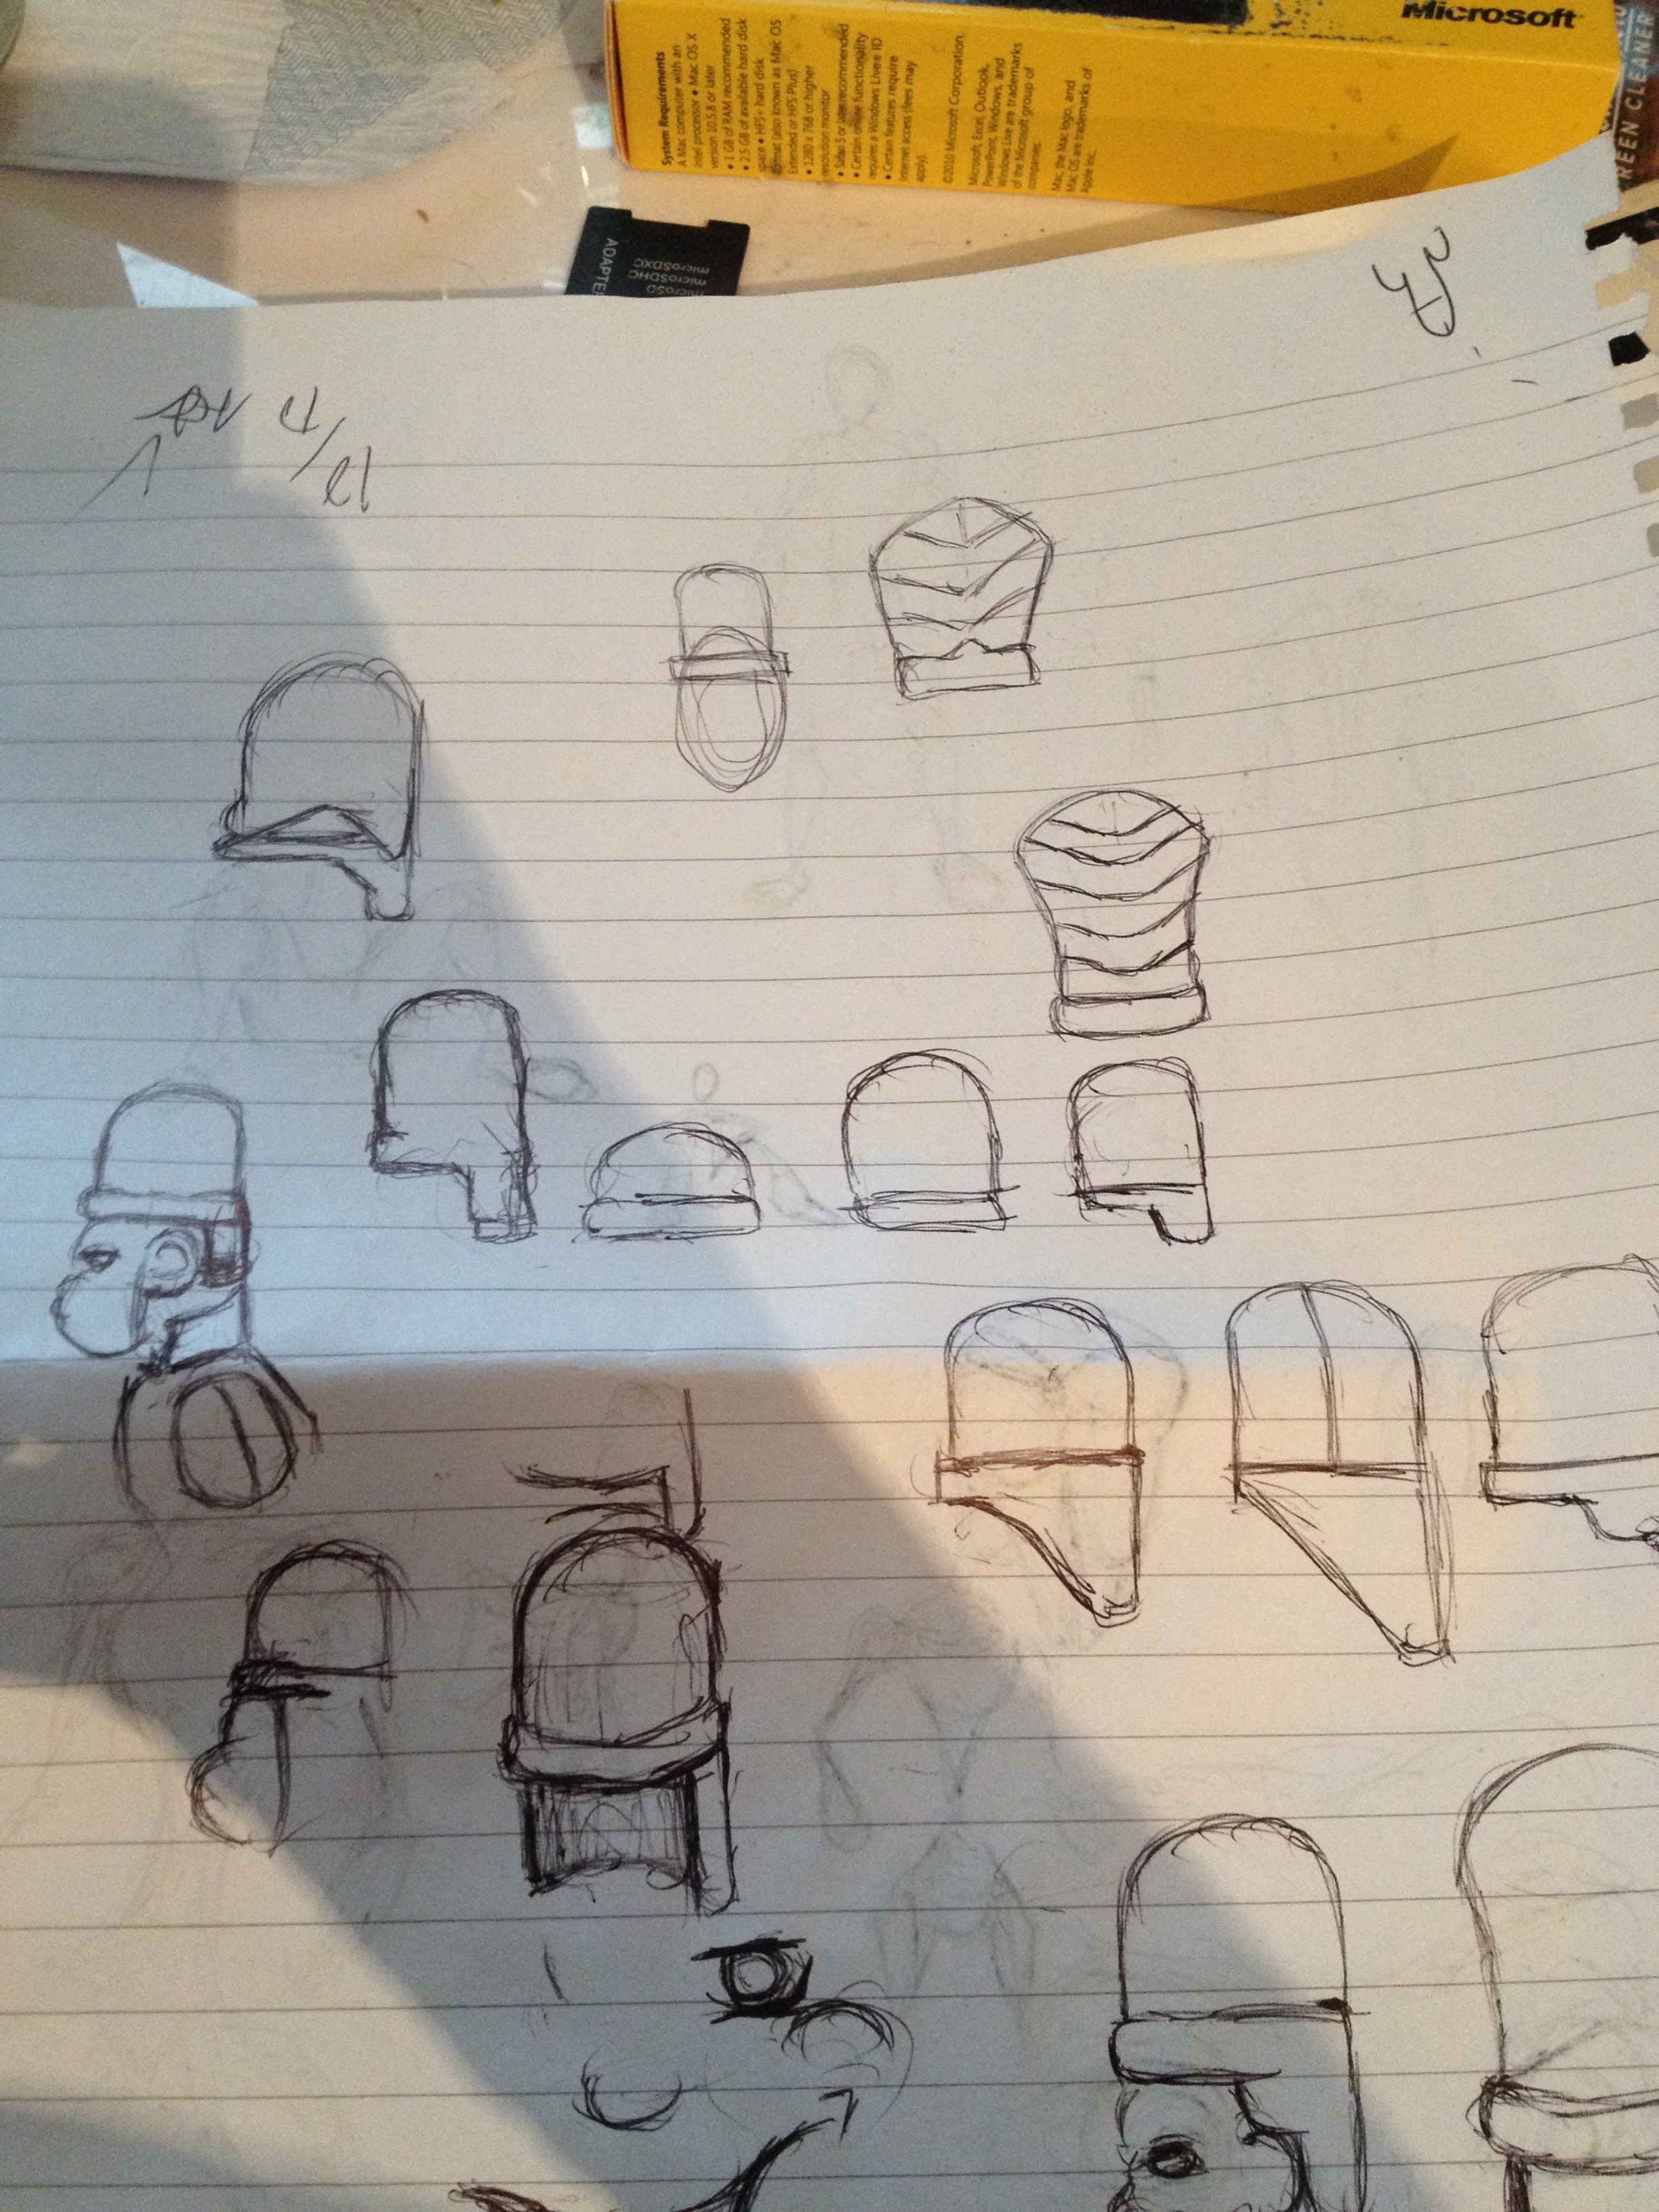
The design of the helmet became a bit of an obsession as I tried to figure out how the helmet would work with the mask which only covered my face but left the back of my head exposed. Eventually I decided that I would use a cheap wig to cover the back of my head as costs started to rise between this cosplay and my more expensive Miles Morales one.
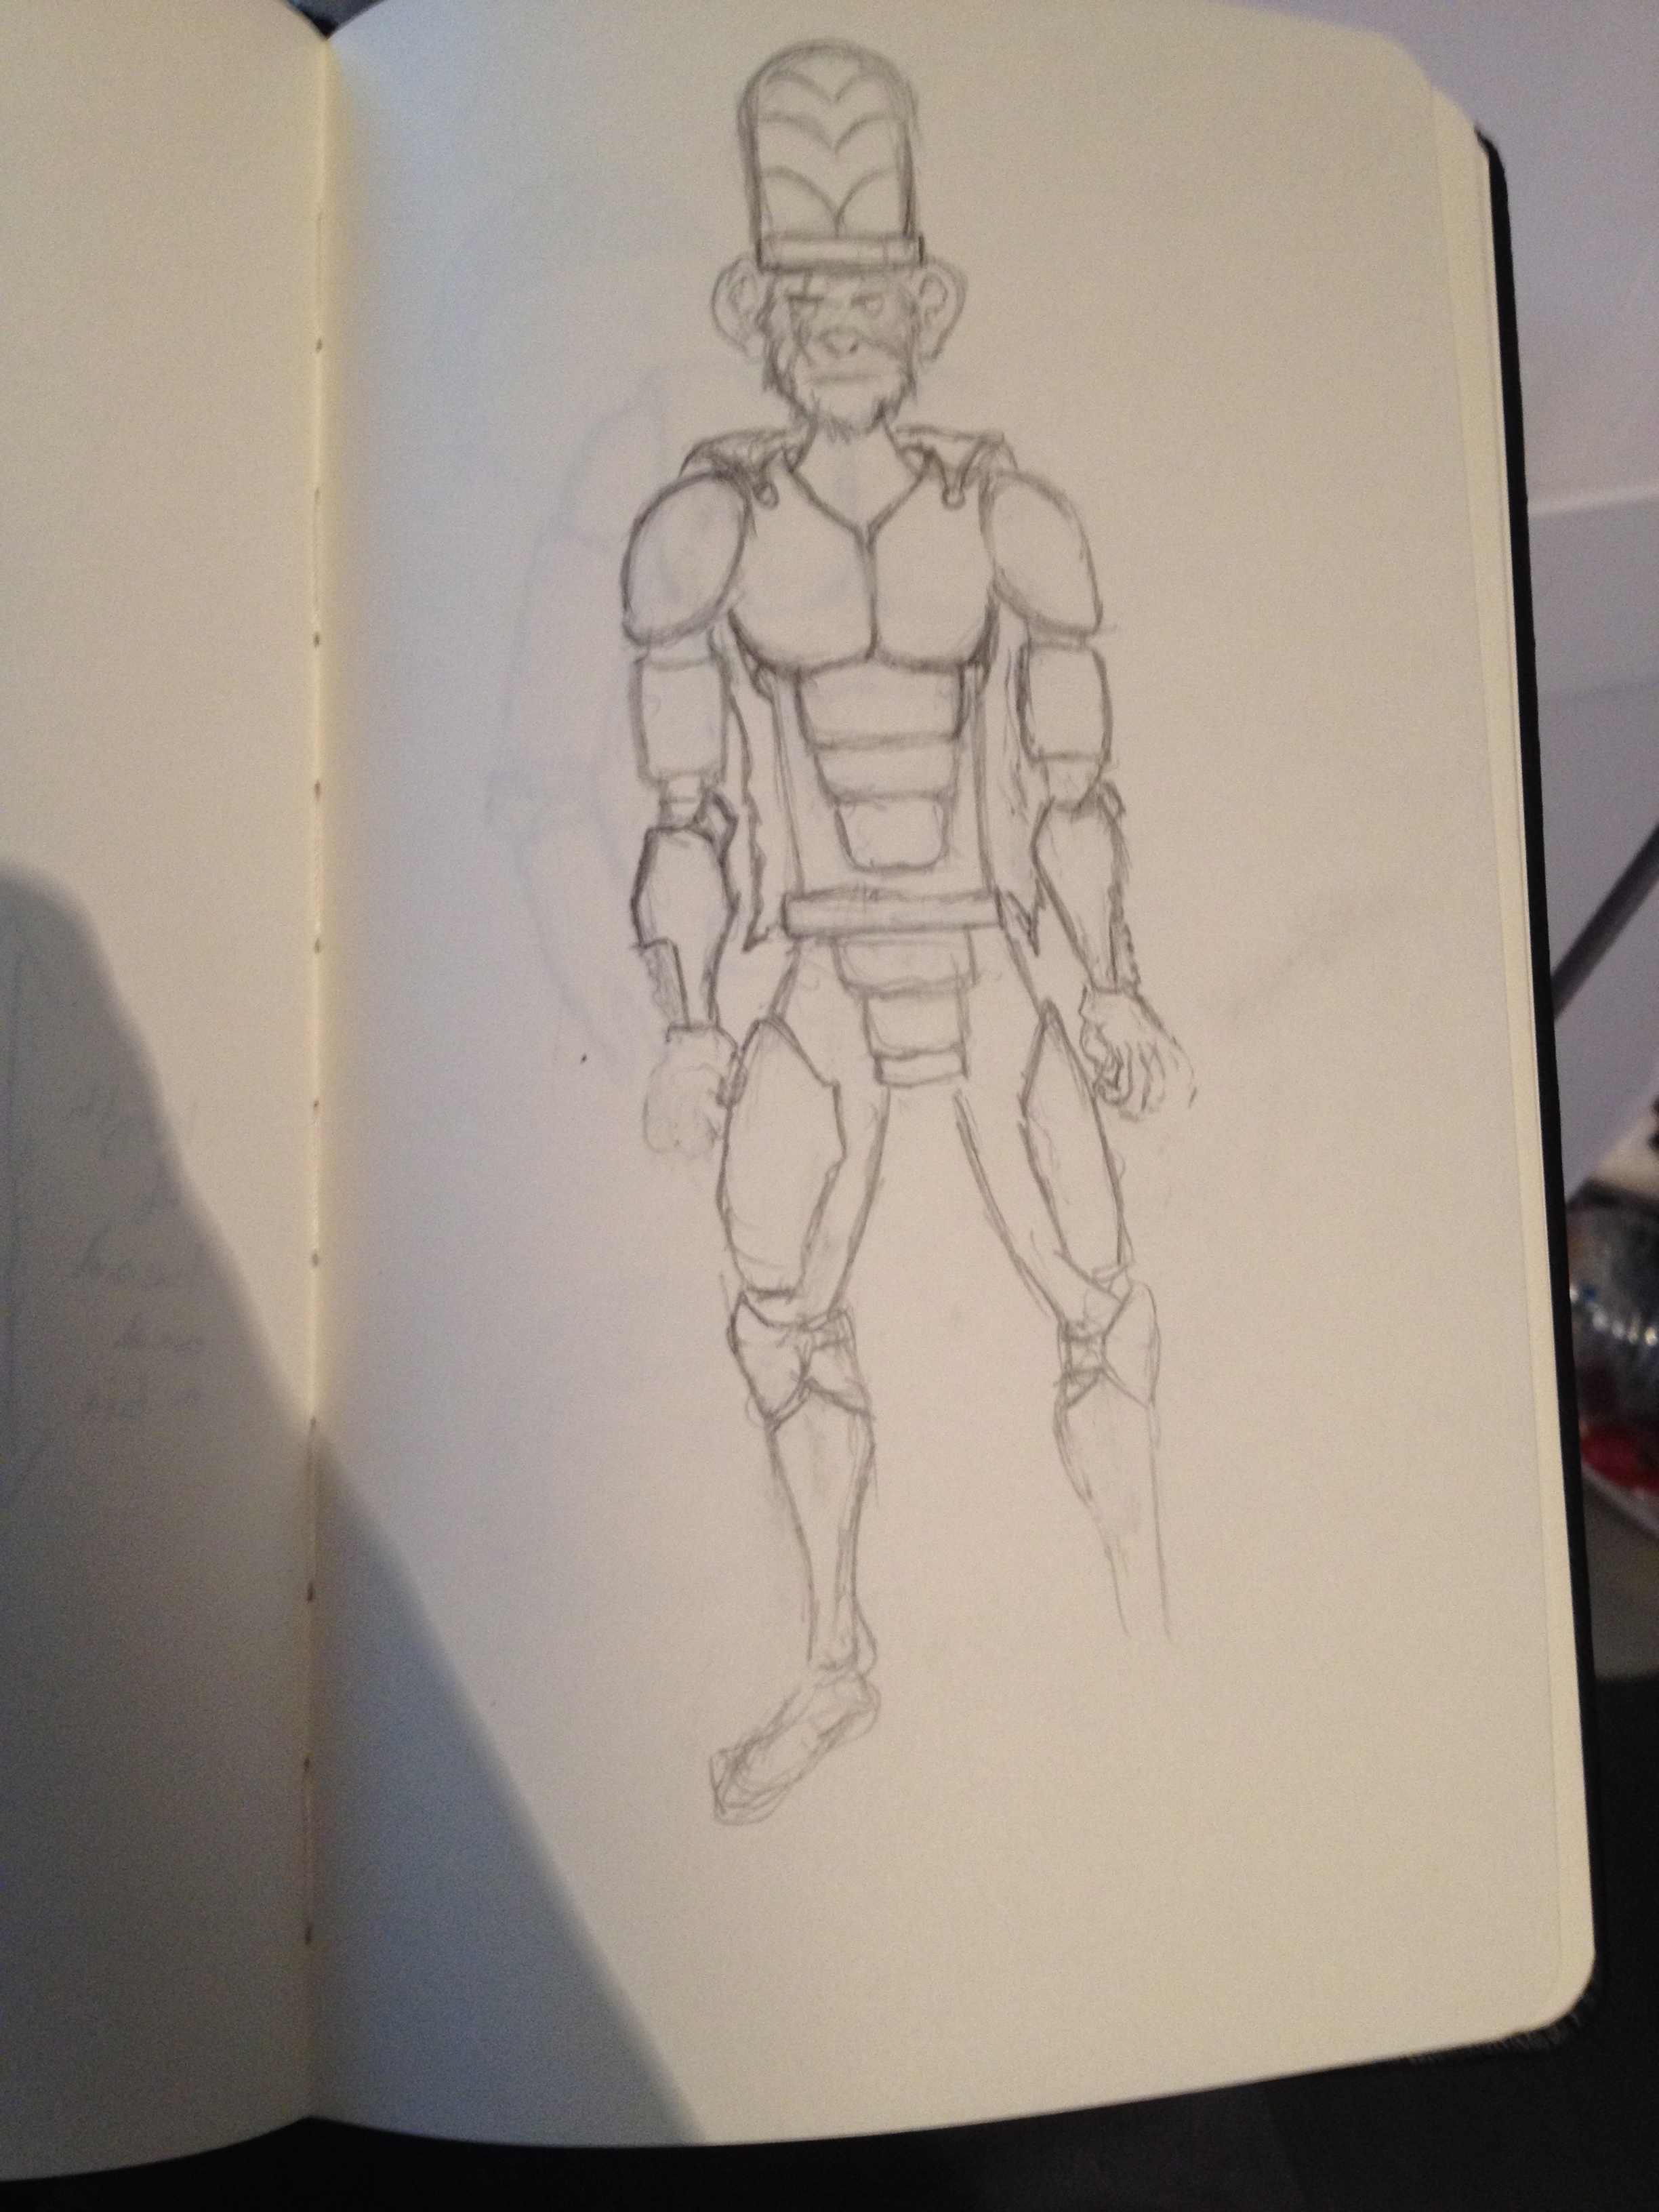
The final sketch of the entire cosplay is above but I continued to reimagine how pieces would allow me to move etc. However as you can see this is much closer to what the final piece looked like than the previous sketches. Some bits such as the shoulder pads I had to remove so that I had some manuvarability but it is still pretty close.
The sketches however are just that if you don't have any materials to work with and if you don't have any idea of what materials you want to work with.
Researching materials
From already looking at how people had done various other cosplays when I decided on the expensive investment that was Miles Morales, I had discovered a variety of ways to go about creating my armour and helmet. For the blue fabric sections I had already decided that I would use a second skin costume or a wrestling singlet if I could find a cheap one (I didn't).
Back to the armour materials; I found that there were a variety of different ways of creating it with each having their own pitfalls and varying levels of difficulty.
Thermoplastics
Pepakura, cardboard and fibreglass
Foam
The 3 listed above are what I found most cosplayers used.
Thermoplastics are as they sound, a plastic which becomes pliable at a certain heat before hardening as it cools. They are usually quite light depending on the amount of layers used but can be affected by the heat.
Pepakura is basically advanced origami using designs from a computer, cutting implements, card/paper, glue, folding and most of all time. Once you have the structure it can be made even more stable using fibreglass, bondo and sandpaper.
Finally foam I found is popularly used by cosplayers because of of it's lightweight nature and because it can be cheaper to get hold of than thermoplastics.
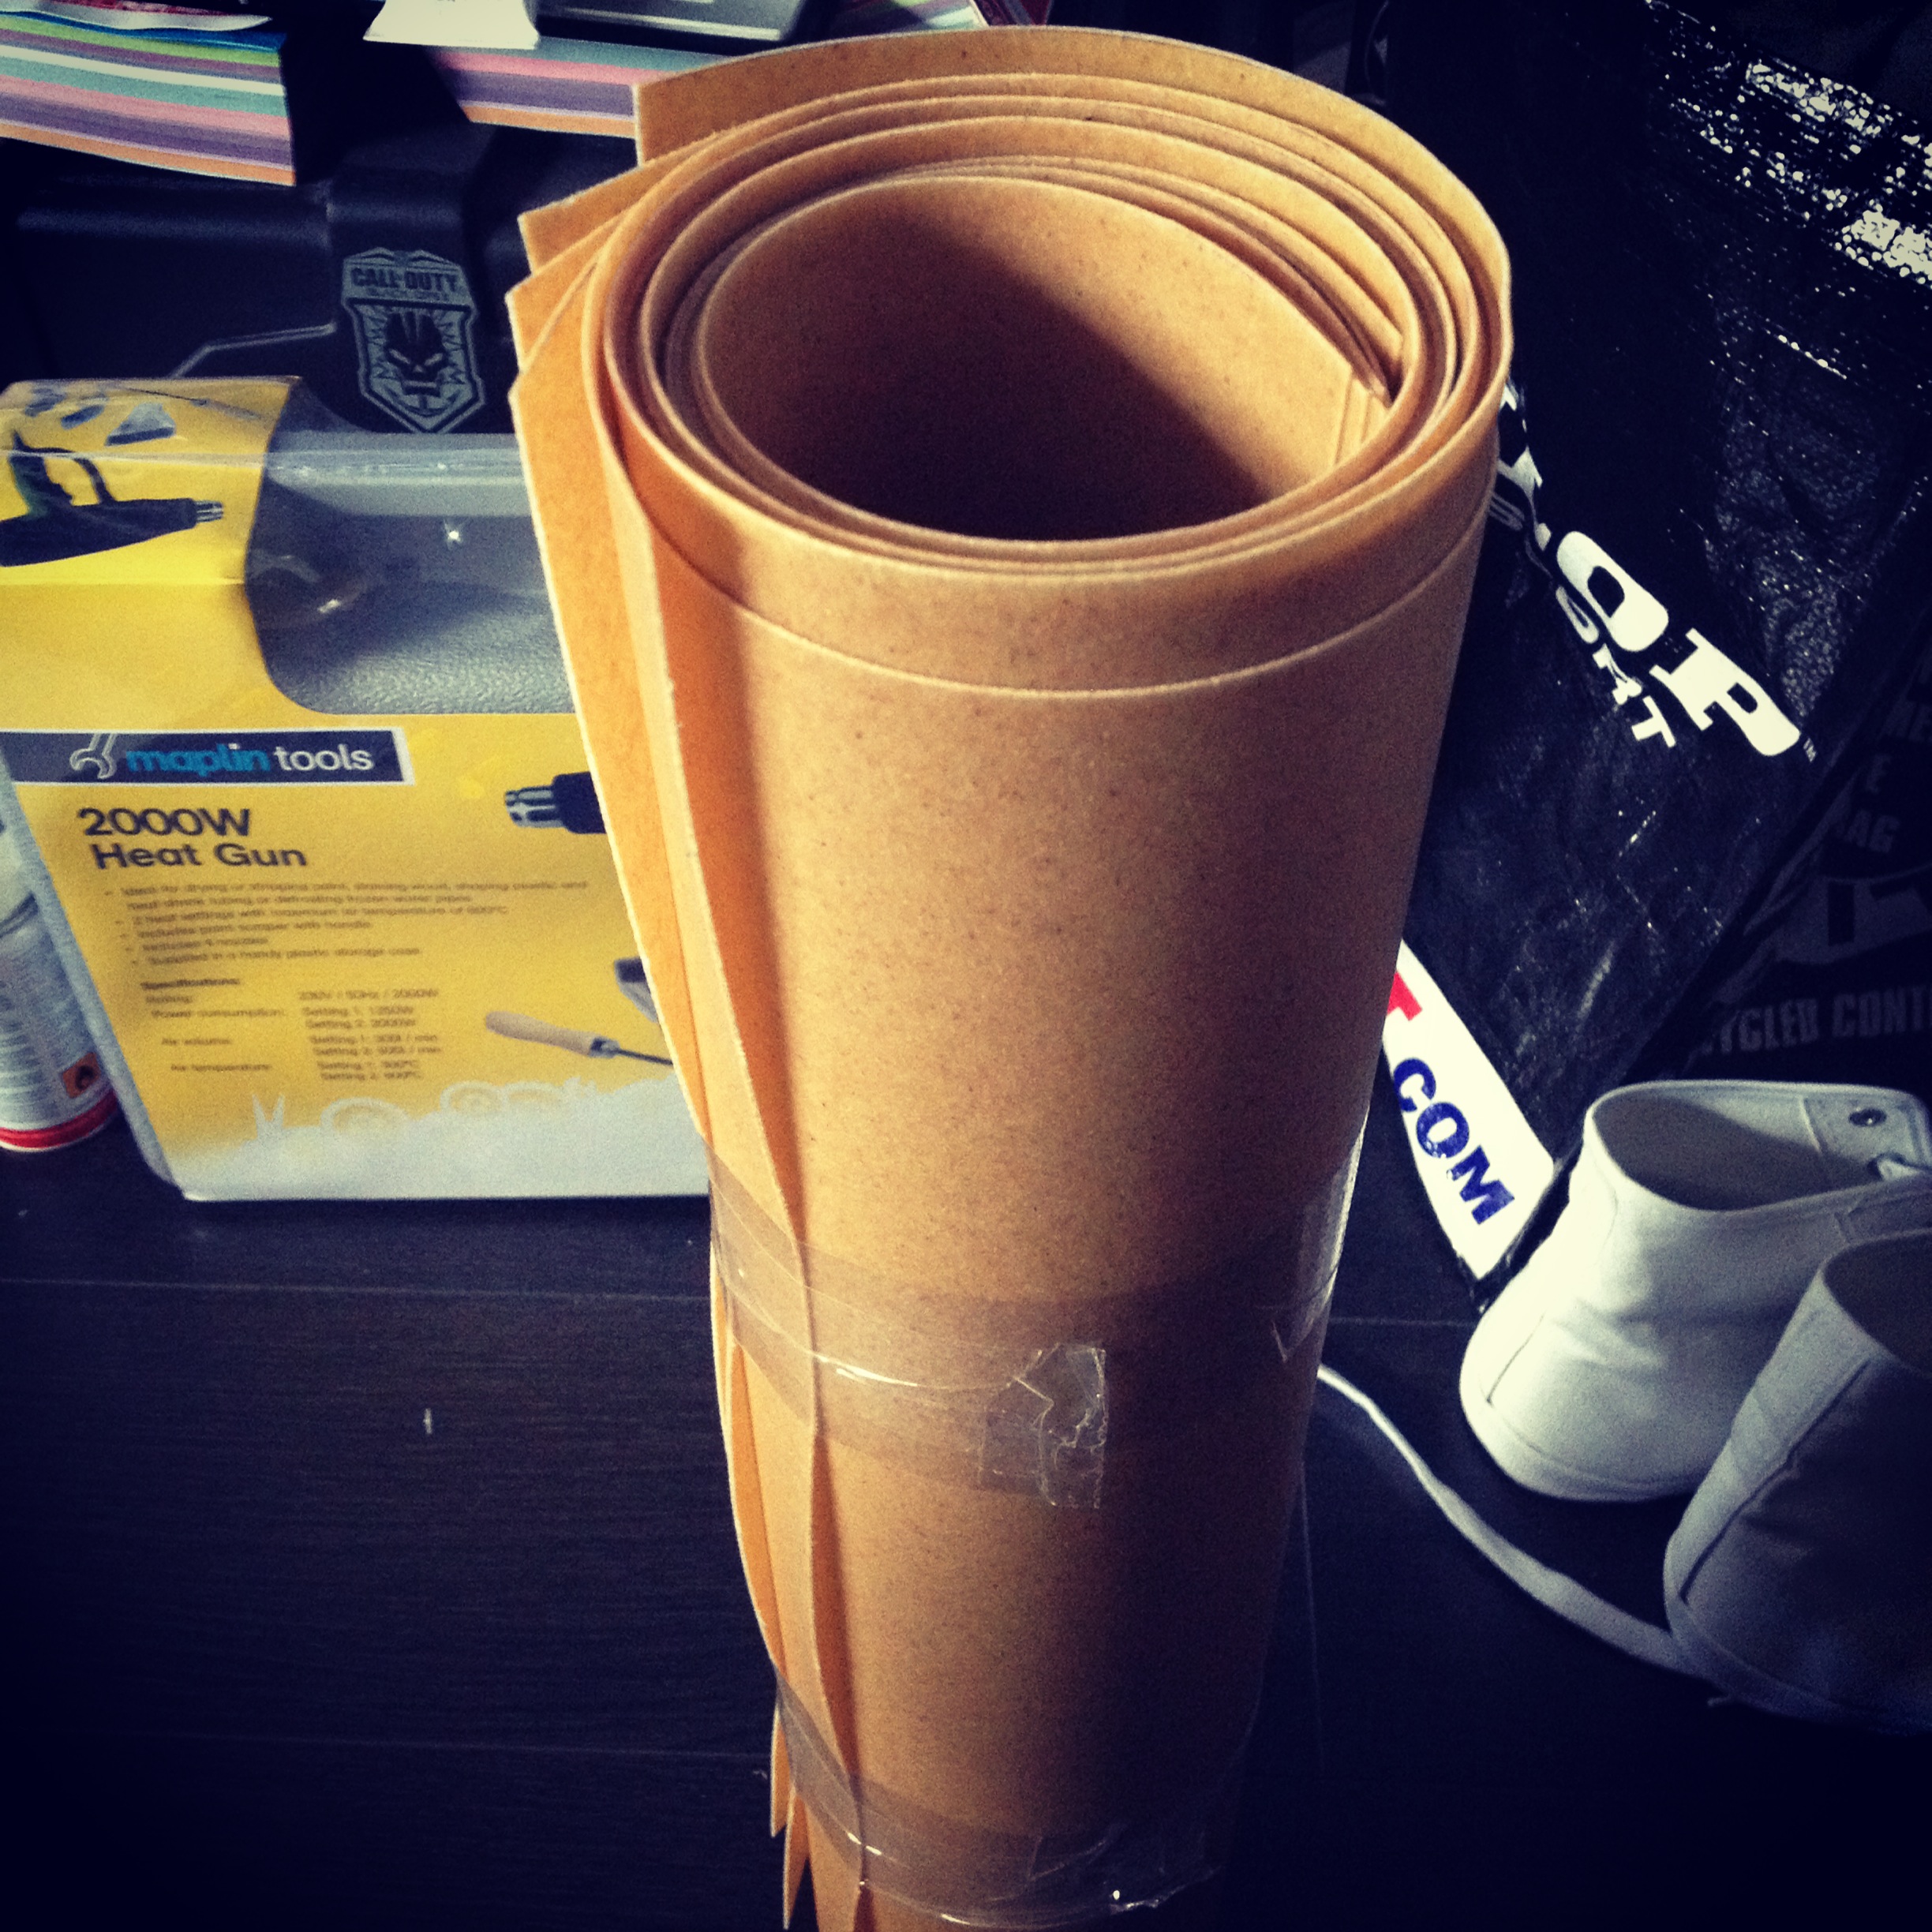
Having looked into all 3 I decided that I would be better off using a thermoplastic for the thin, hard armour I wanted (also I got to use a heat gun). At this point I also had to look at what was the best thermoplastic for the job. I quickly found that worbla was "the best" one to use for cosplay. With that information in hand I set about gathering everything I would need including:
Craft foam
Cutting mat
Craft knife
Acrylics (I already had some)
Paint brushes (I already had some)
Worbla
Heat gun
Dolls (for the powerpuff girls!!)
Mask
Monkey Arms
Shoes
White duct tape
Elastic
Stick on Velcro
Cape
Second skin suit
Belt
Spray paint
Fabrication and Detailing
If I'm honest I didn't get all the materials above at one time as that would have cost too much for my limited budget. I had a general list of what I would need and got things as I would need them. Or rather when I could use them.
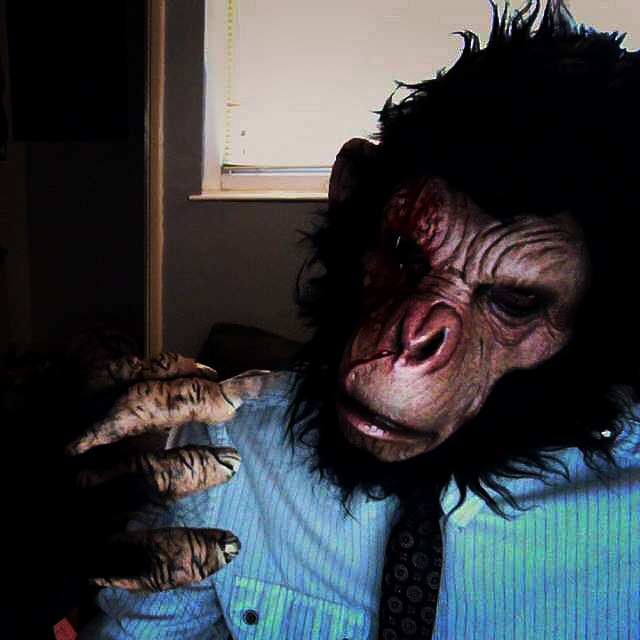
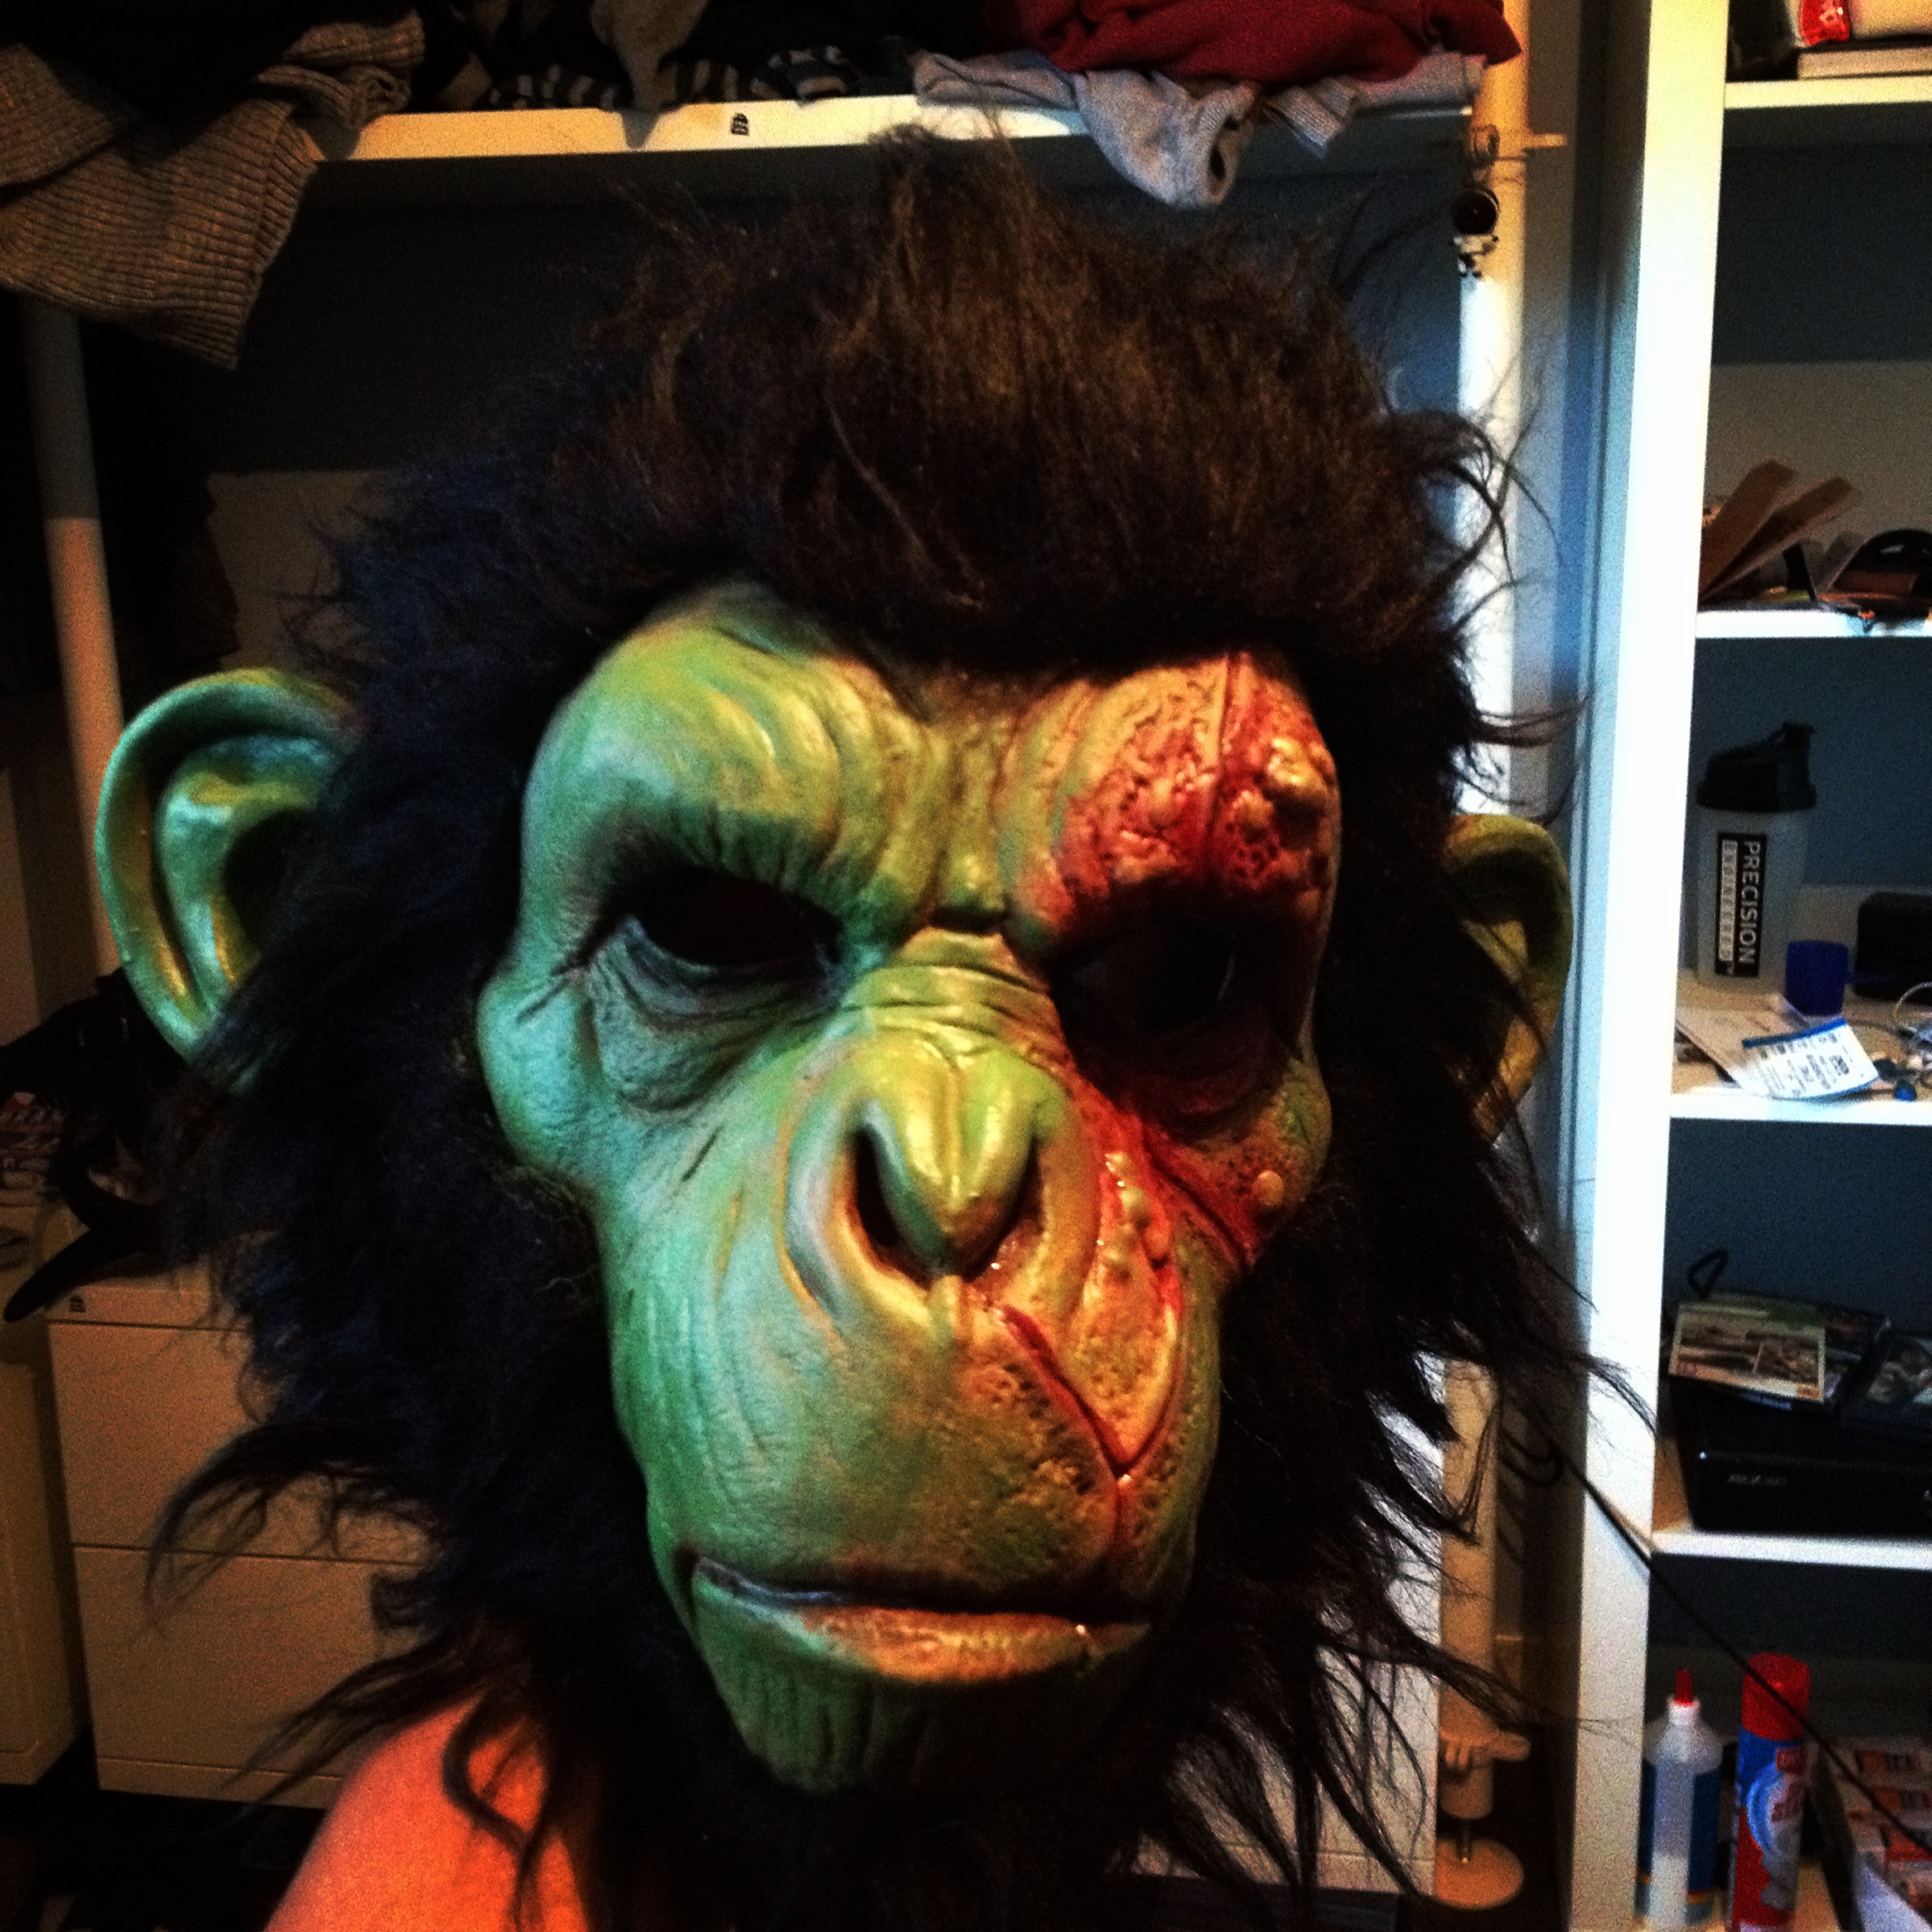
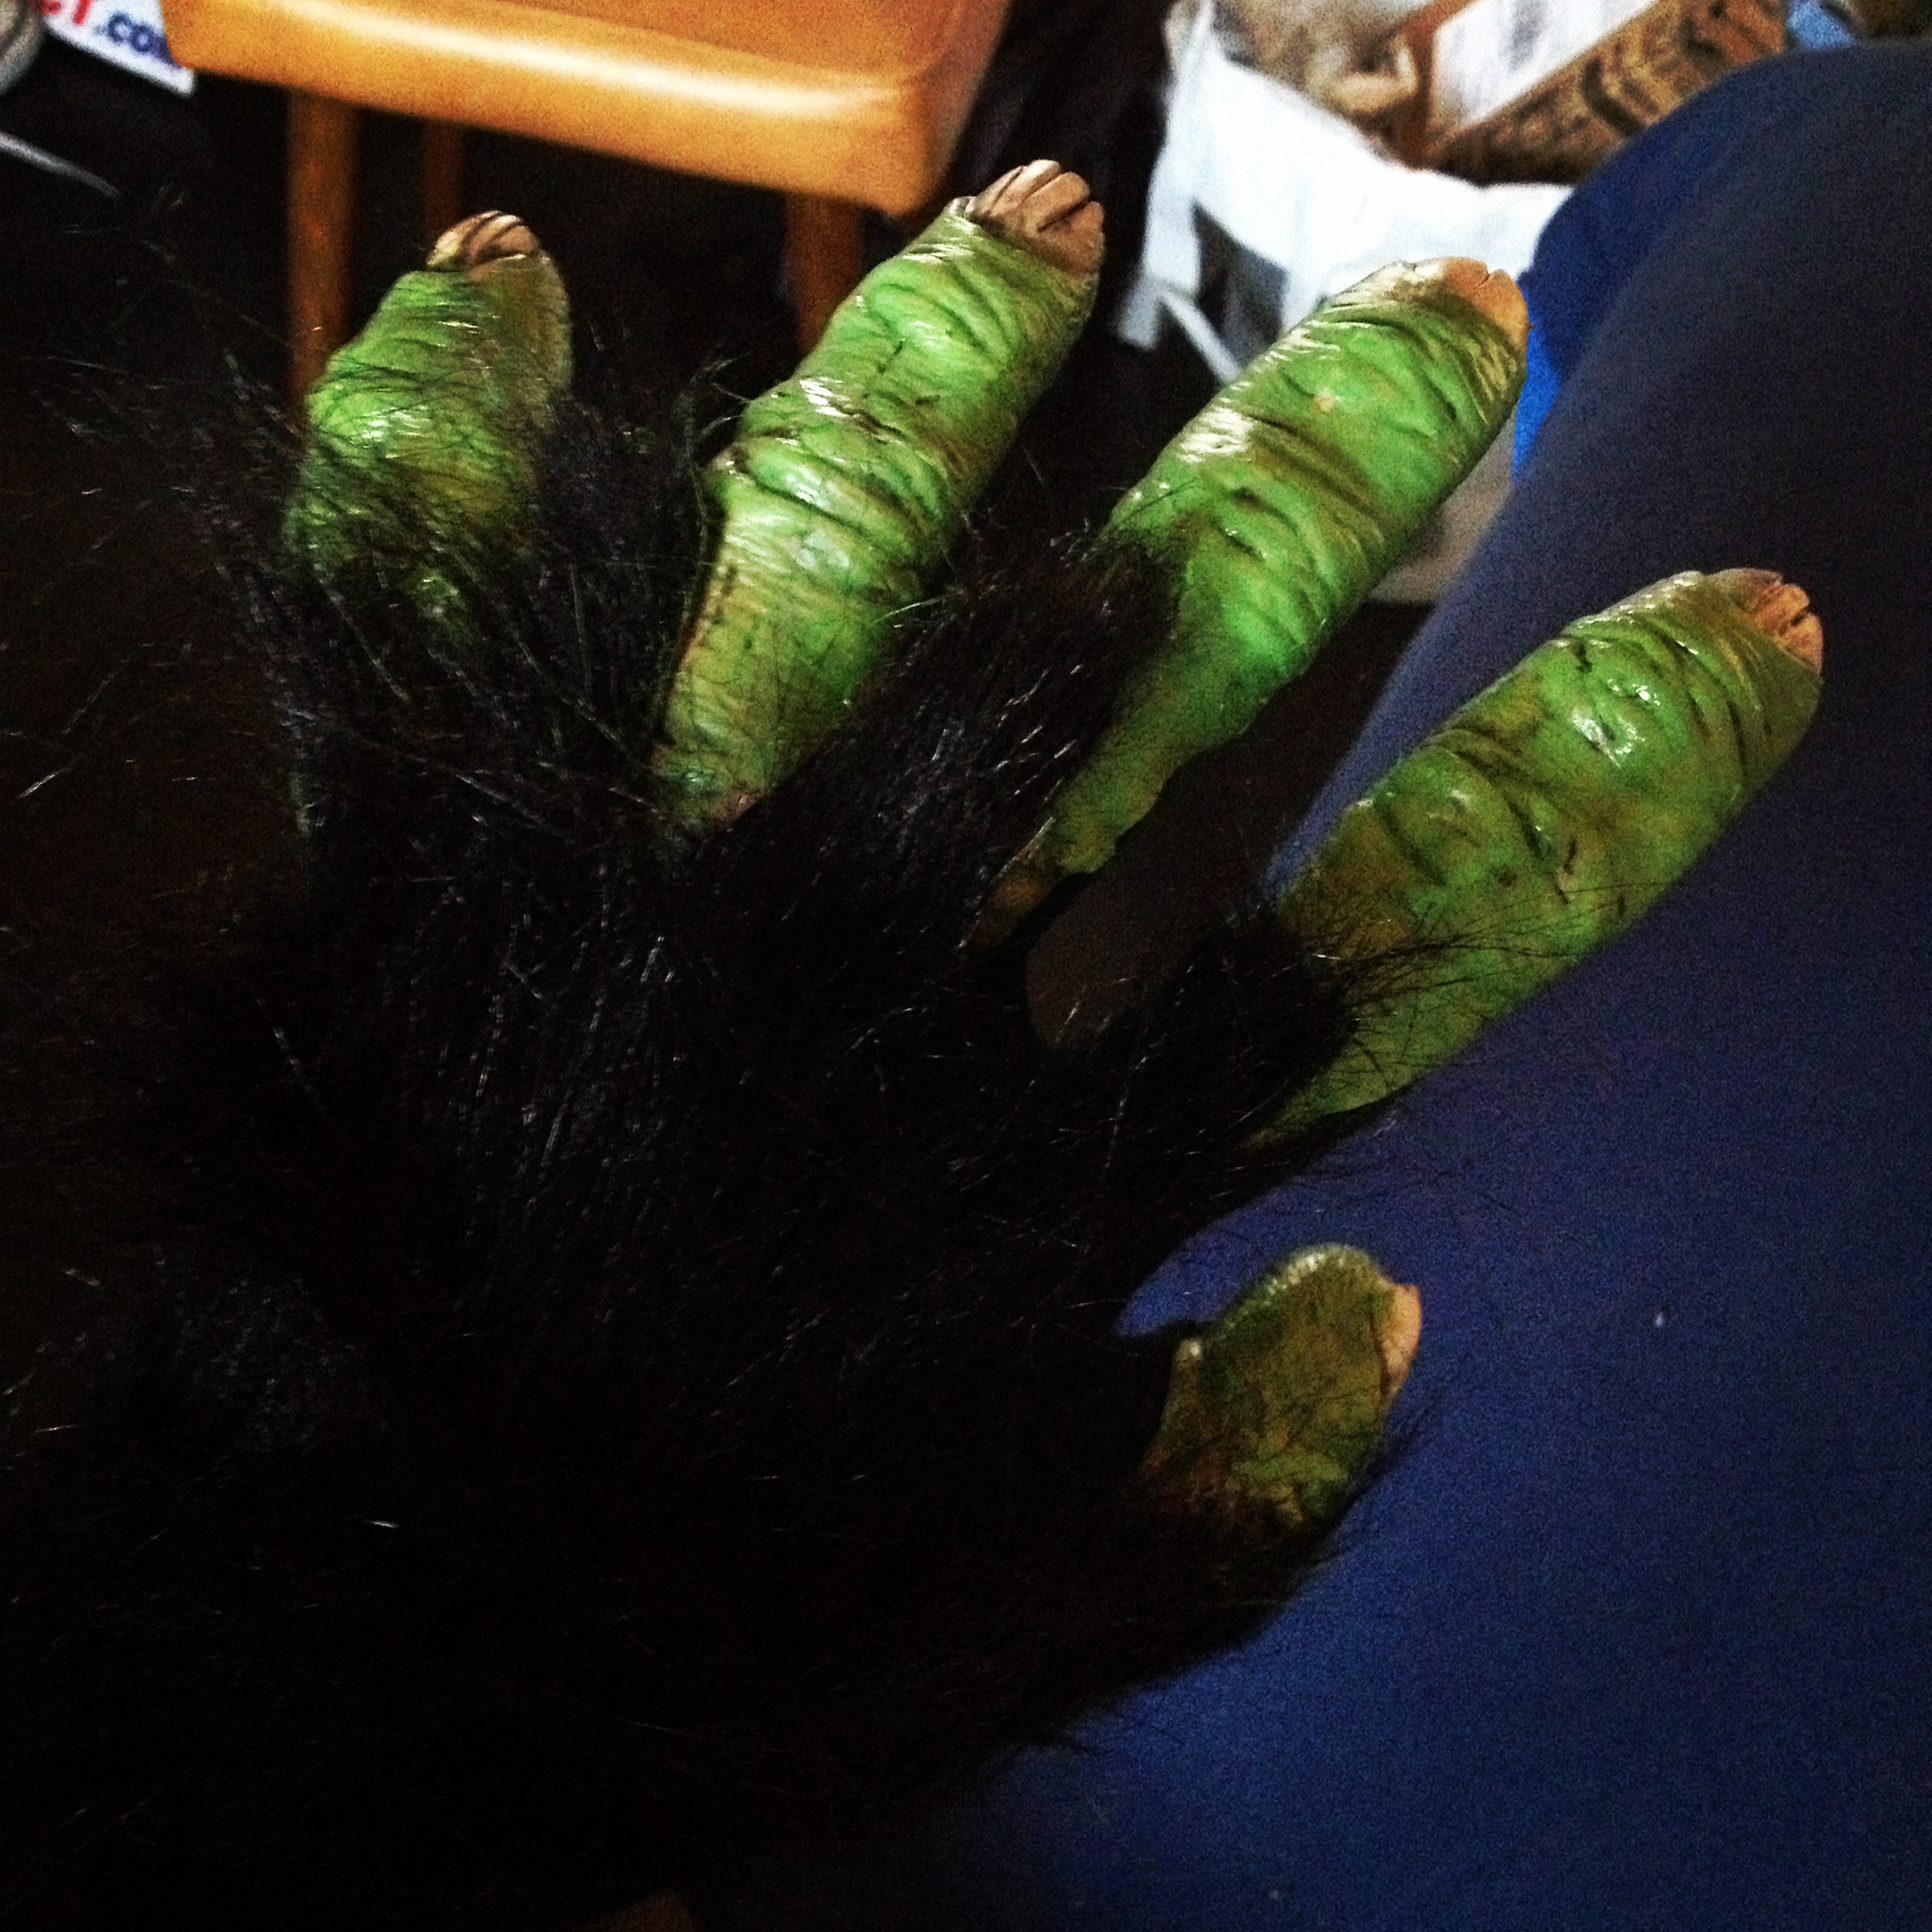
It all began appropriately with the face and hands which I purchased from Merlins Ltd at a very reasonable price. This mask with some additional paint (acrylics) and highlights would be what would give Mojo Jojo his soul.
I decided it would be best to get the tone of his skin more or less right before doing anything else and I felt I did a good job with this. Later I would add highlights around the scar, darker areas with dirt and generally just made the mask as realistic as possible.
After that it was on to acquiring Worbla and a heat gun. This took longer than required after a mishap with the German company I ordered it from and UPS who still haven't answered how they screwed up so badly.

When I discovered UPS screwed up I made sure the UPS team had as bad a time as I was having across social media, email and phone. Not nice but it got them to change from "we can't do anything" to actively trying to sort the problem. It did not get sorted. However the silver lining of the situation was that I was able to order my worbla from another company for less money and free delivery too! The only downside was that the UPS problem meant I had less time to work with the worbla which was what worried me most.
I won't go through exactly how I went about using the worbla as I didn't document the process as well as I could have. I will however share with you the tutorials that I found useful as I went about playing with this wonderful smelling thermoplastic. Seriously it smells amazing when heated!!
https://www.youtube.com/channel/UCCUlIPib8SLIzqHBUAptAwQ
This youtuber and cosplayer posts some detailed videos of how she uses Worbla which I found quite useful as an introduction to what I should be doing.
http://electricalivia.deviantart.com/art/Cosplay-armor-with-Worbla-373287541
This was also quite useful in showing step by step instructions of how to make pieces.
http://www.constantineintokyo.com/2013/09/21/armor-tutorial-worbla-skeletor/
I only found this tutorial when I was almost finished using the worbla which was unfortunate as it had some very useful tips within it.
http://www.kamuicosplay.com/2012/09/the-way-of-the-paladin.html
This is another useful tutorial that I found late in the process of using the worbla.
https://www.youtube.com/channel/UCiJhGnoXJzdWa4jozZyvmEg
But if I were to point to one tutorial/youtube channel which was the most help when I was creating my armour it would have to be Kellax Productions who post a number of different videos which were really useful I found when I was both using the worbla and then painting it.
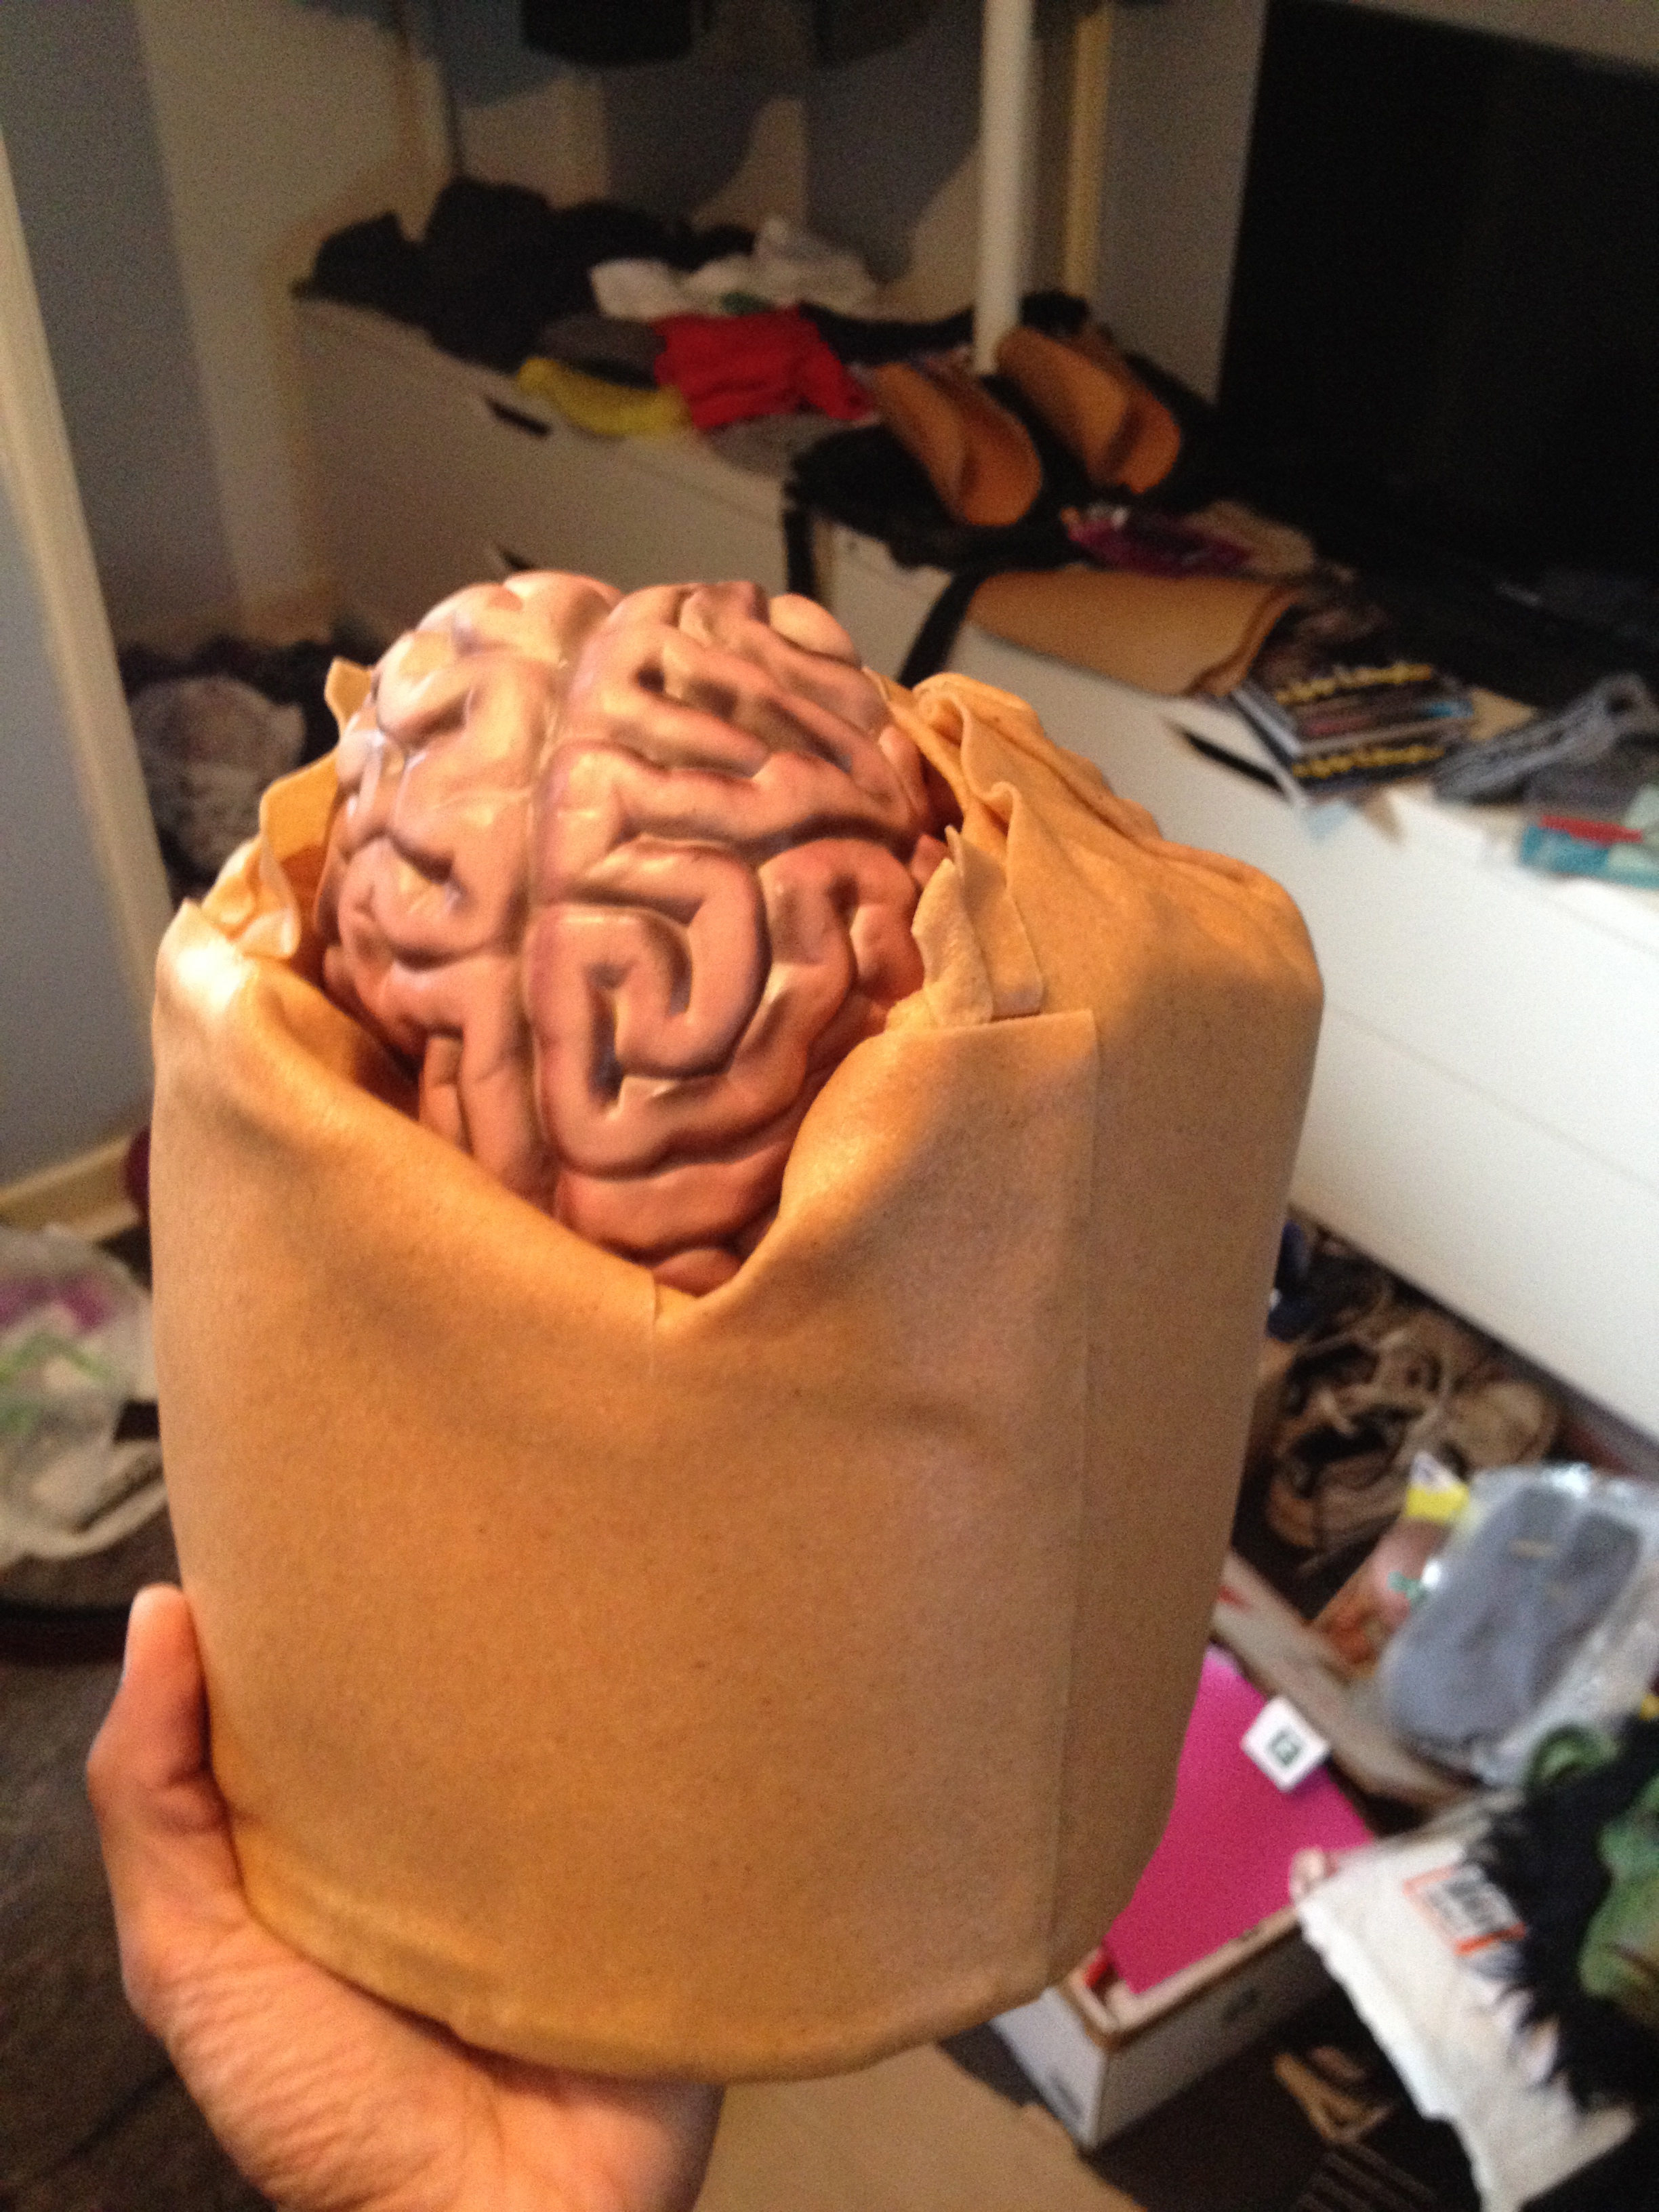
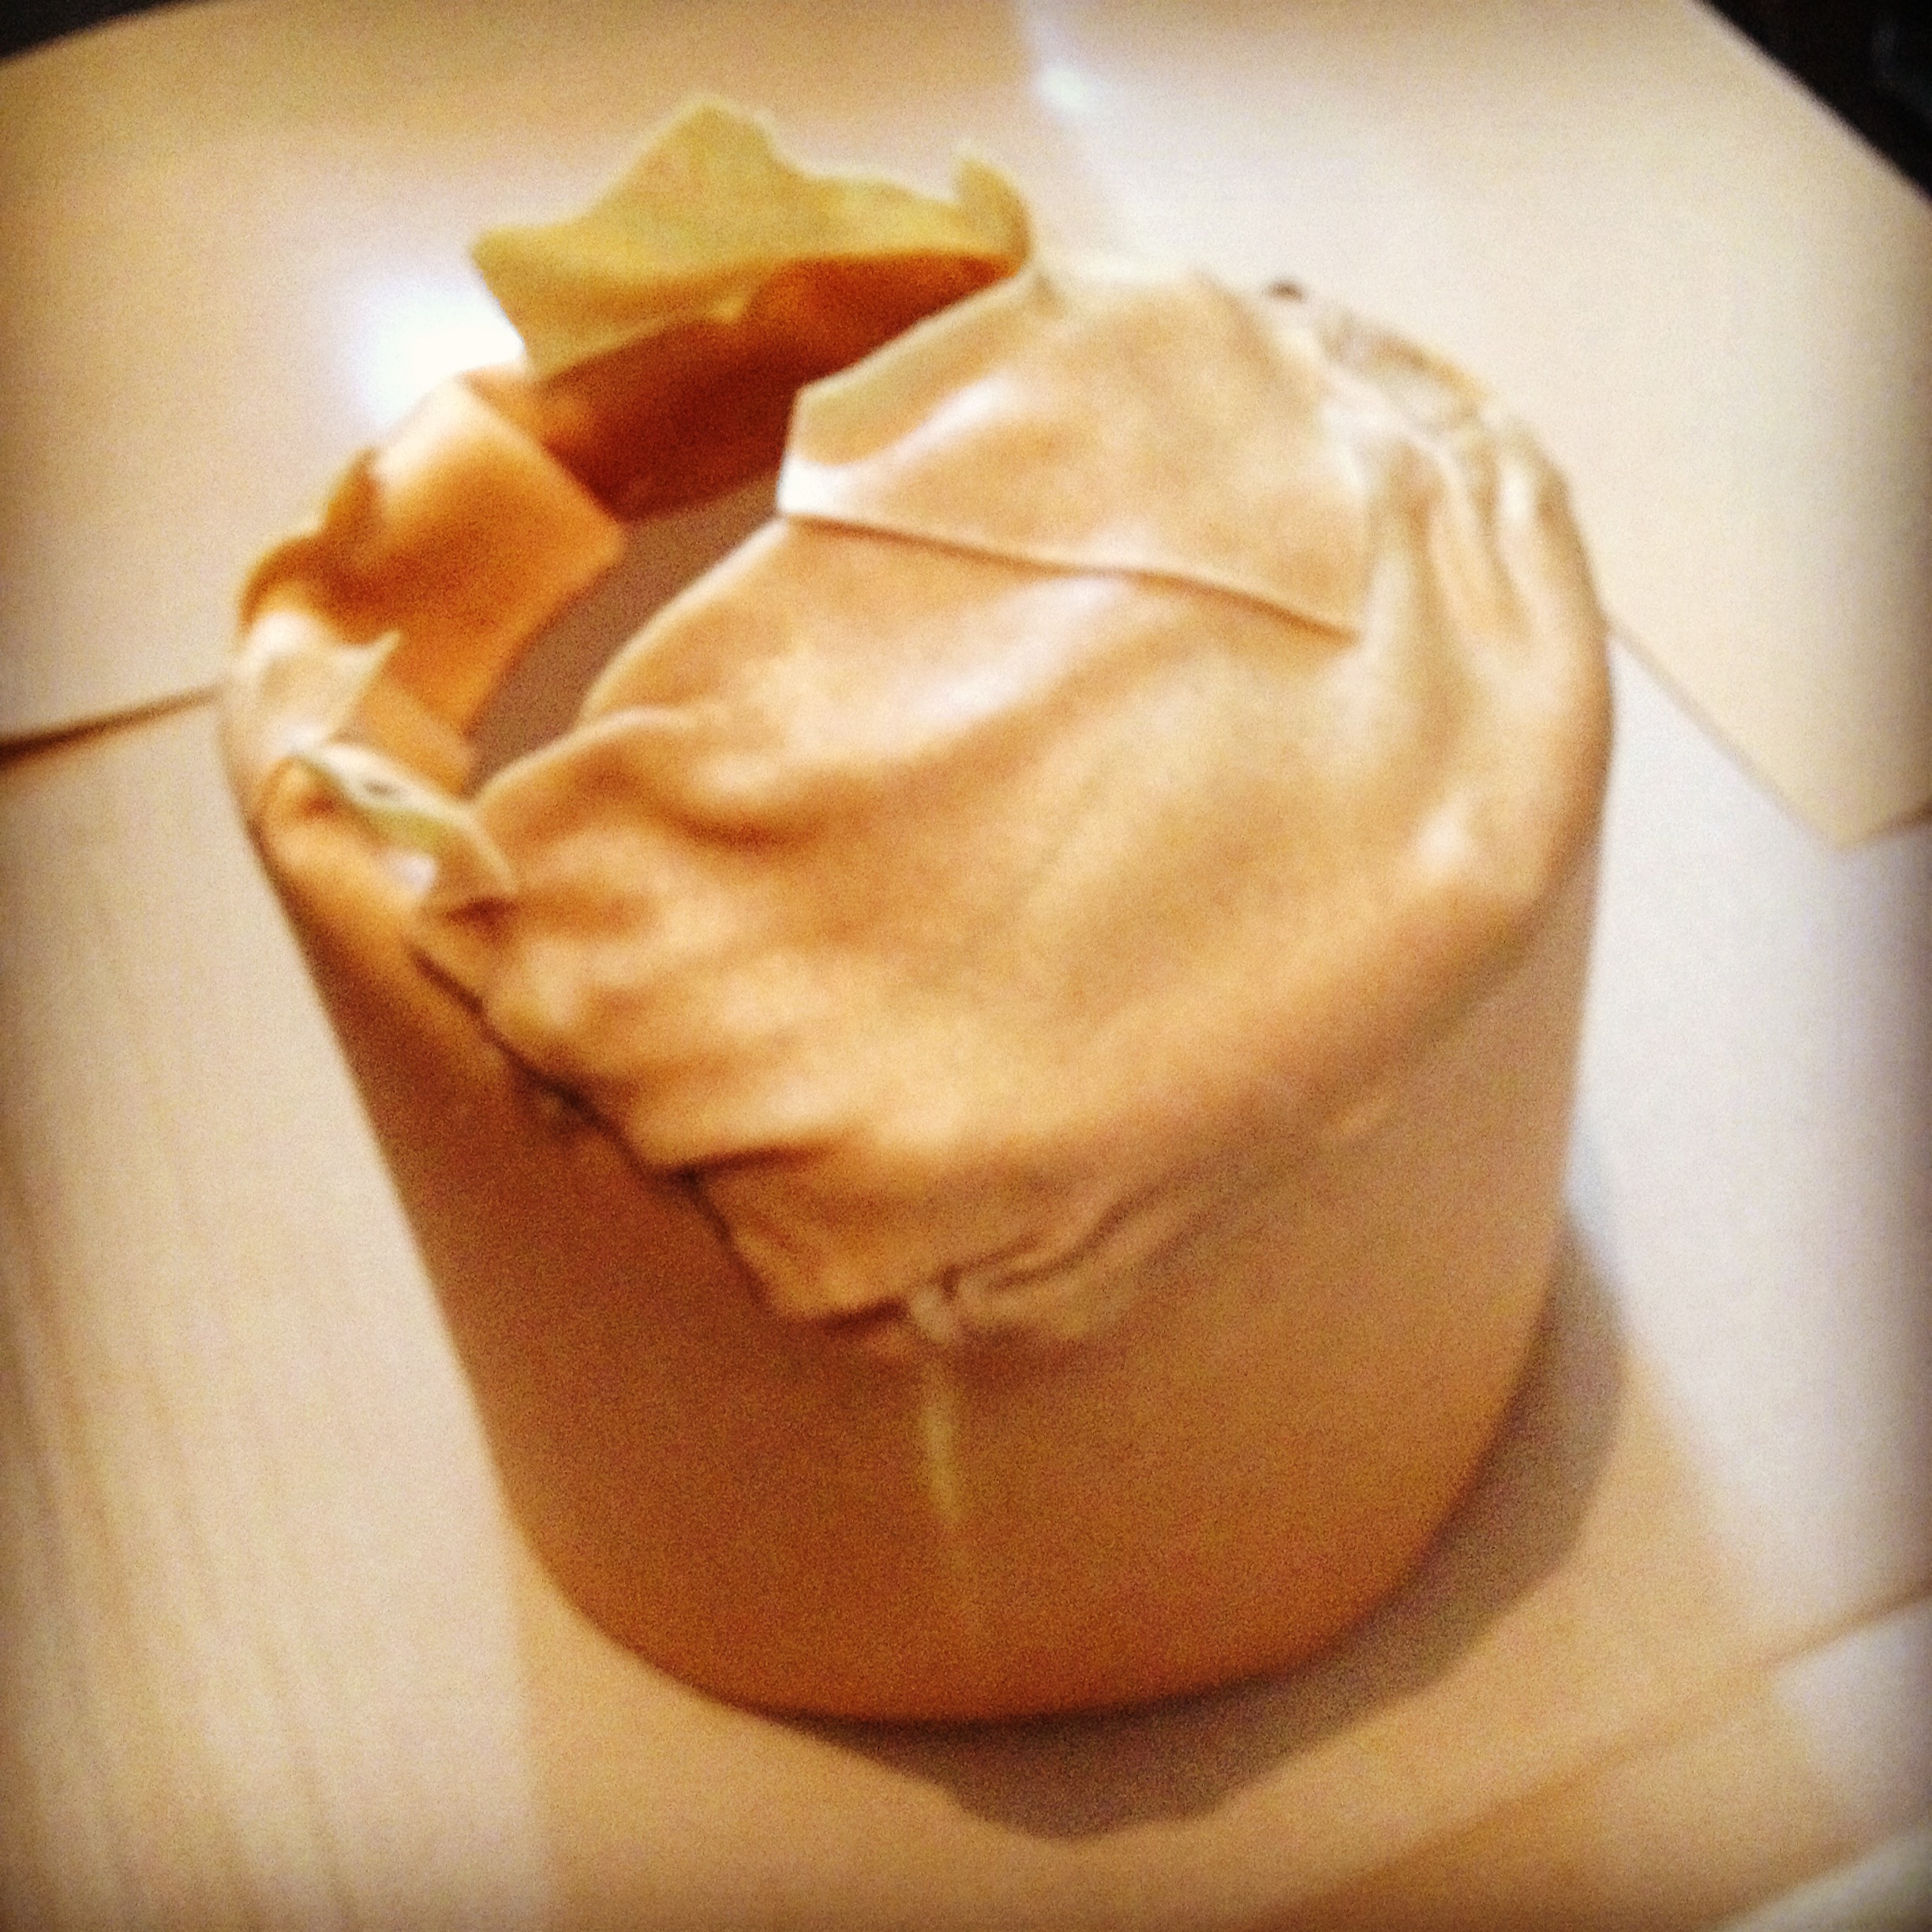
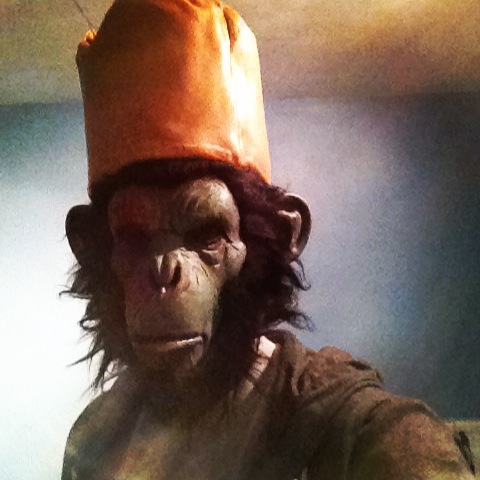
The helmet was frustrating to make to say the least. I had nothing that was the right shape to mould it around so had to shape it free hand. This ended up with what can be seen in the first picture where I estimated the size of the top wrong in my first attempt with worbla.
Now I had always planned to have some brain showing but I wanted it to be painted on. The mistake I made with my estimate gave birth to an idea in my head where the brain could be protruding through this gap. So I was pleasantly happy to have made that mistake.
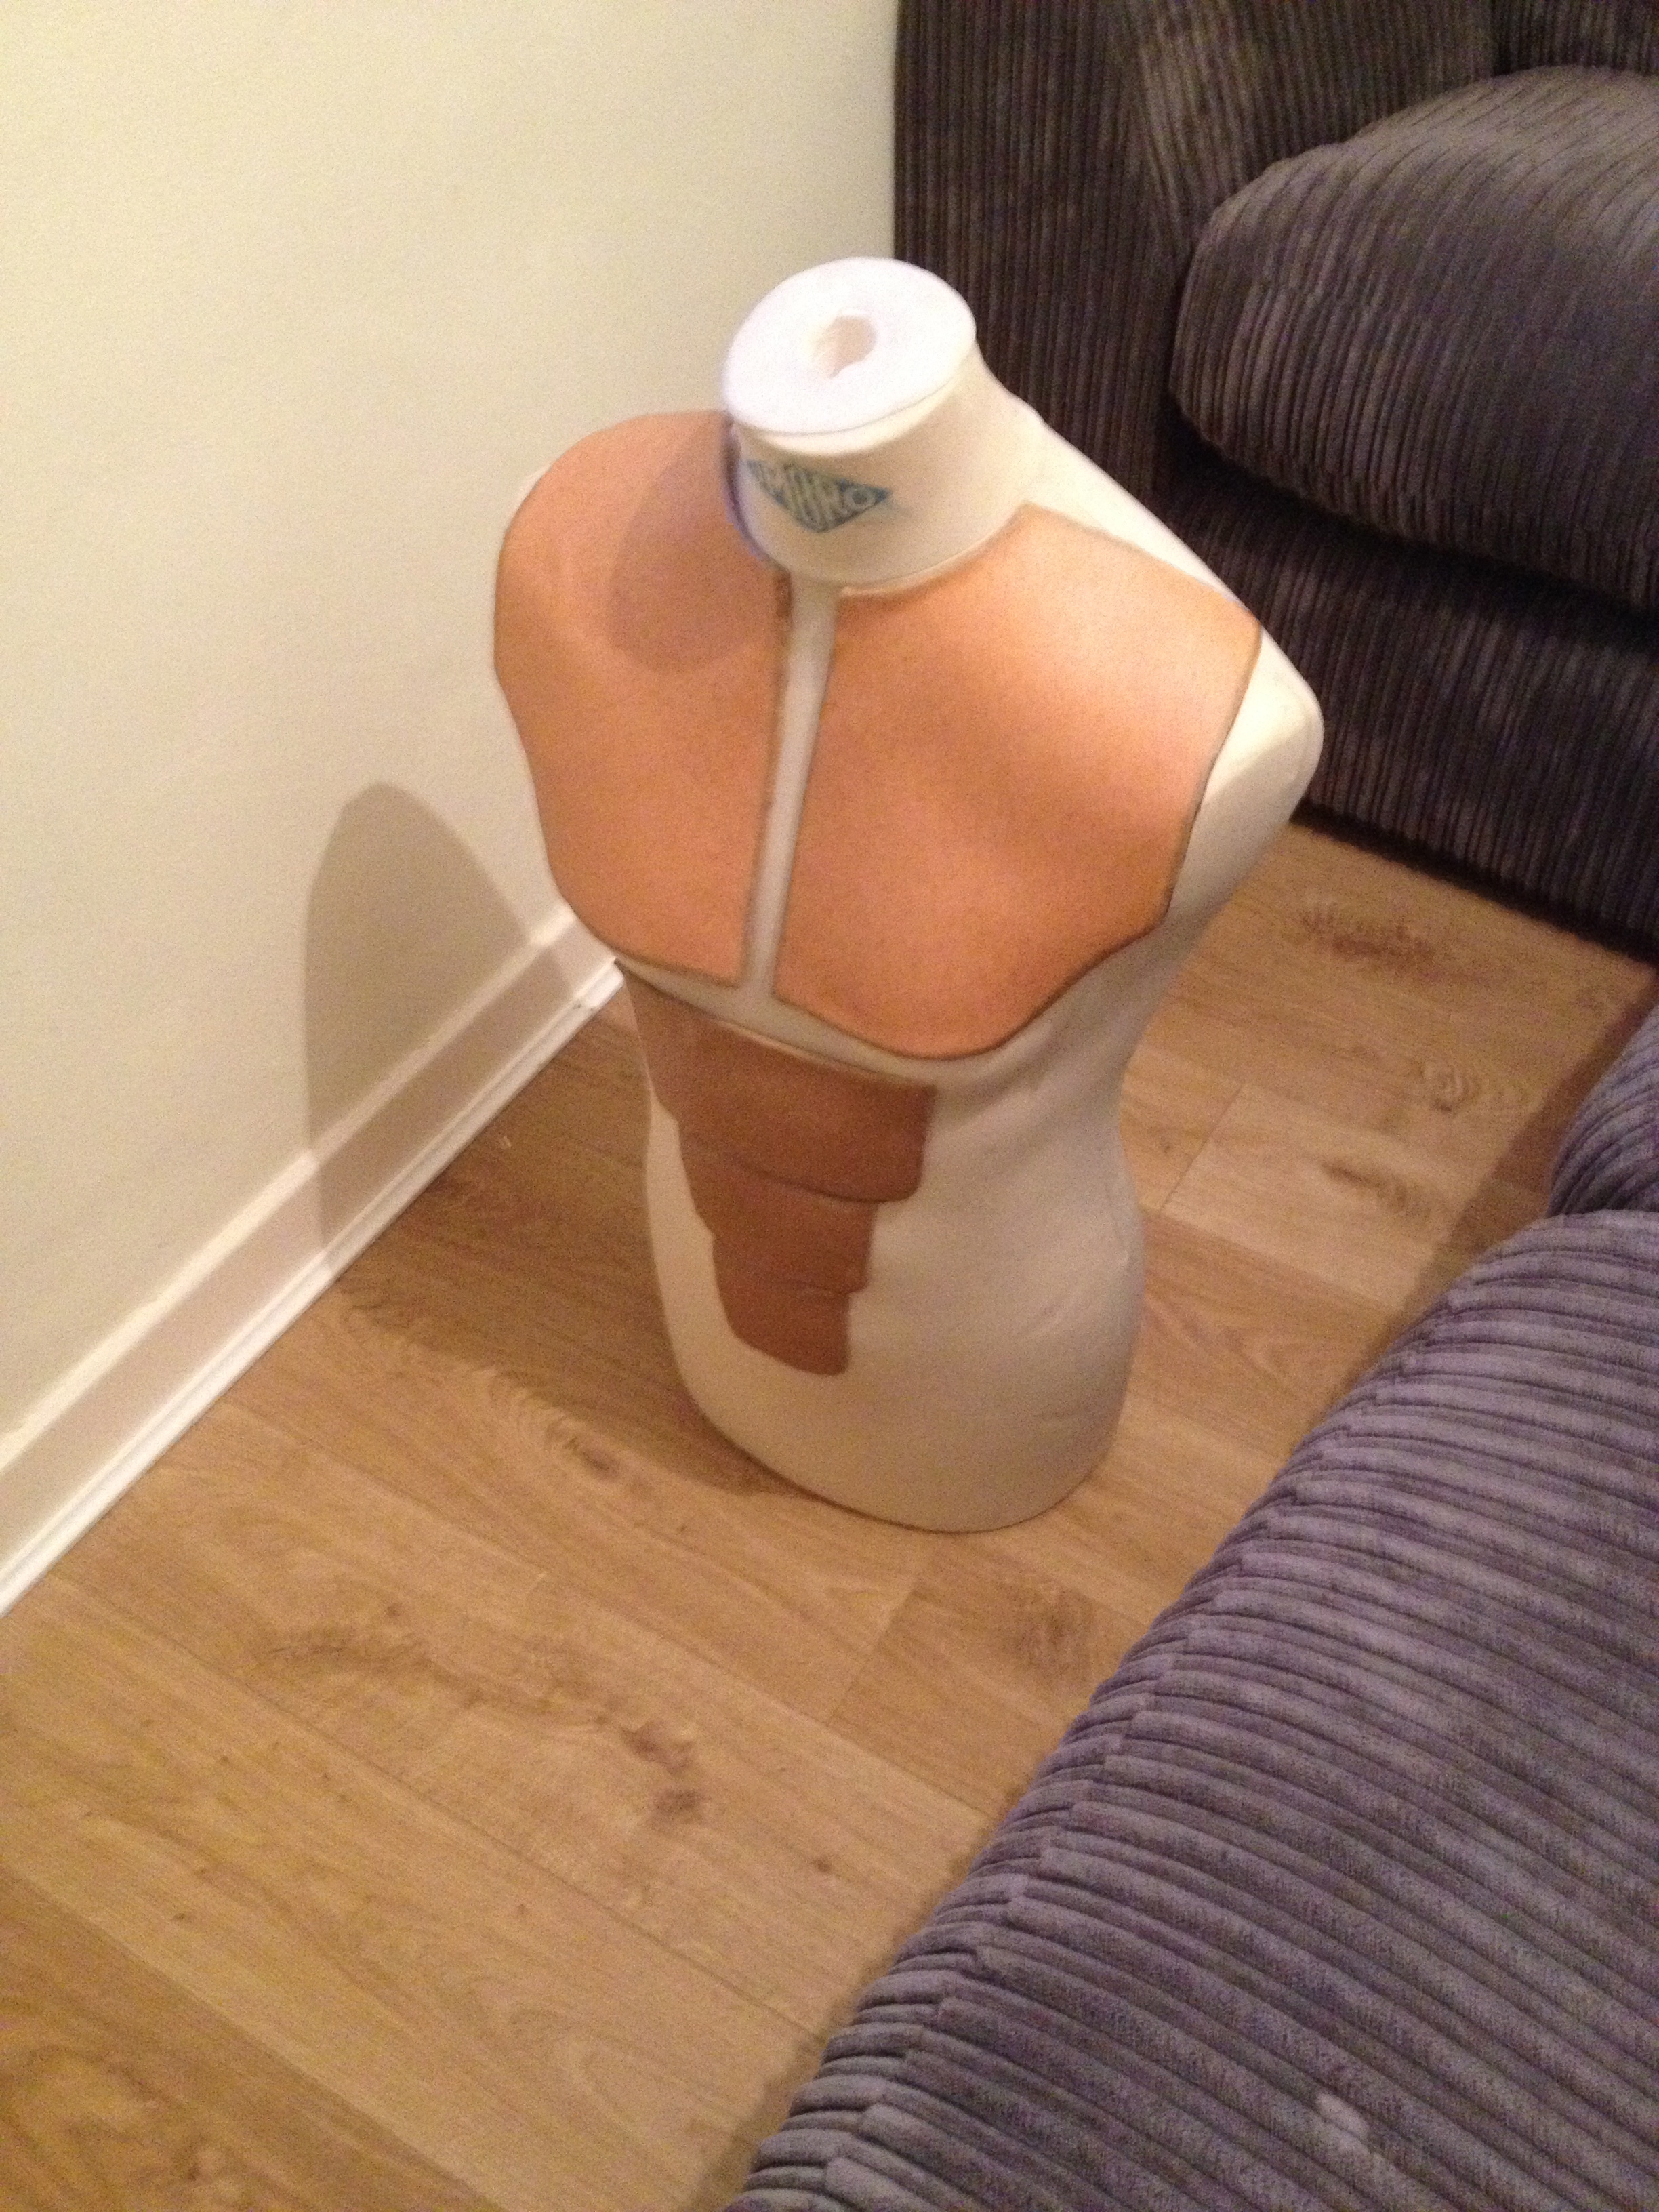
Then came the armour for the arms and legs; which was relatively easy to make. However when I came to do the shoulder pads I planned I found that I couldn't lift my arms more than 90 degrees. This meant that I would require someone to take my helmet and mask off if I needed them off (I still ended up needing some help). So the shoulder pads became part of my legs.
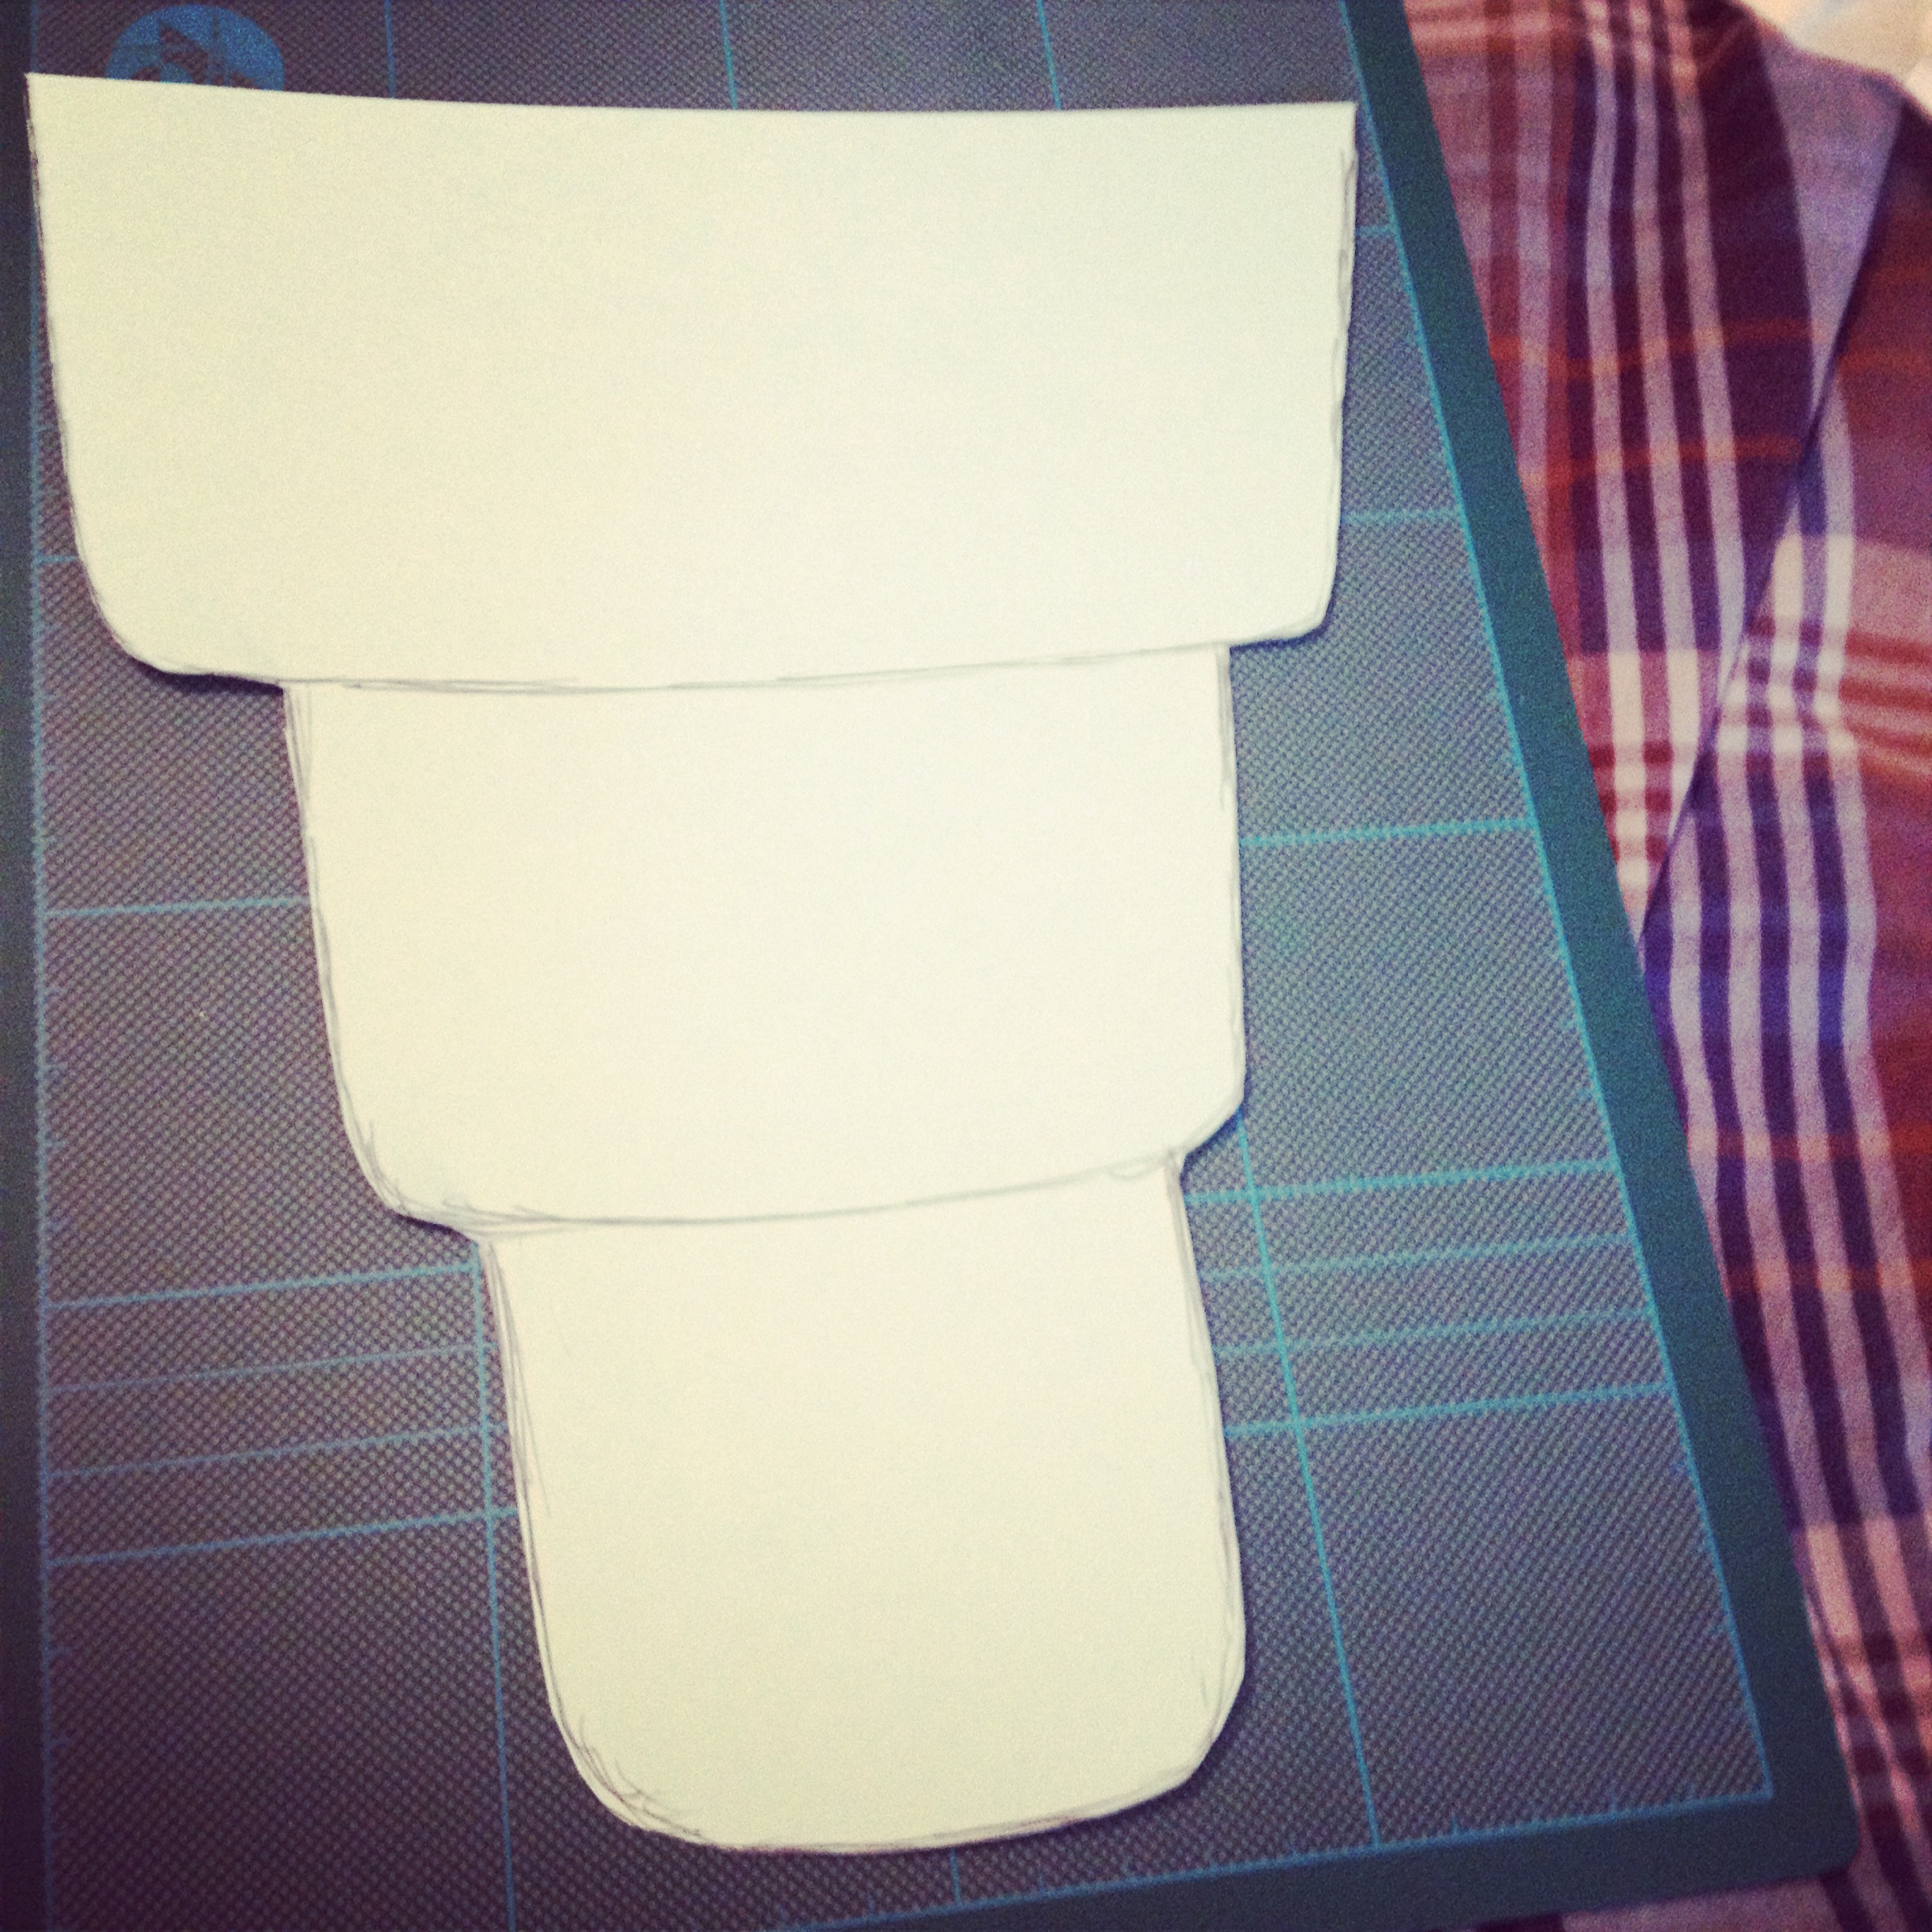
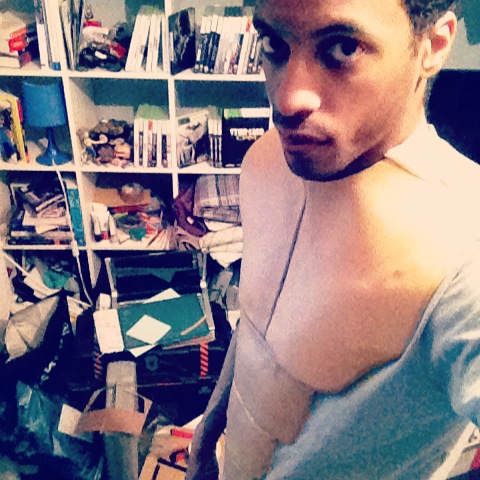
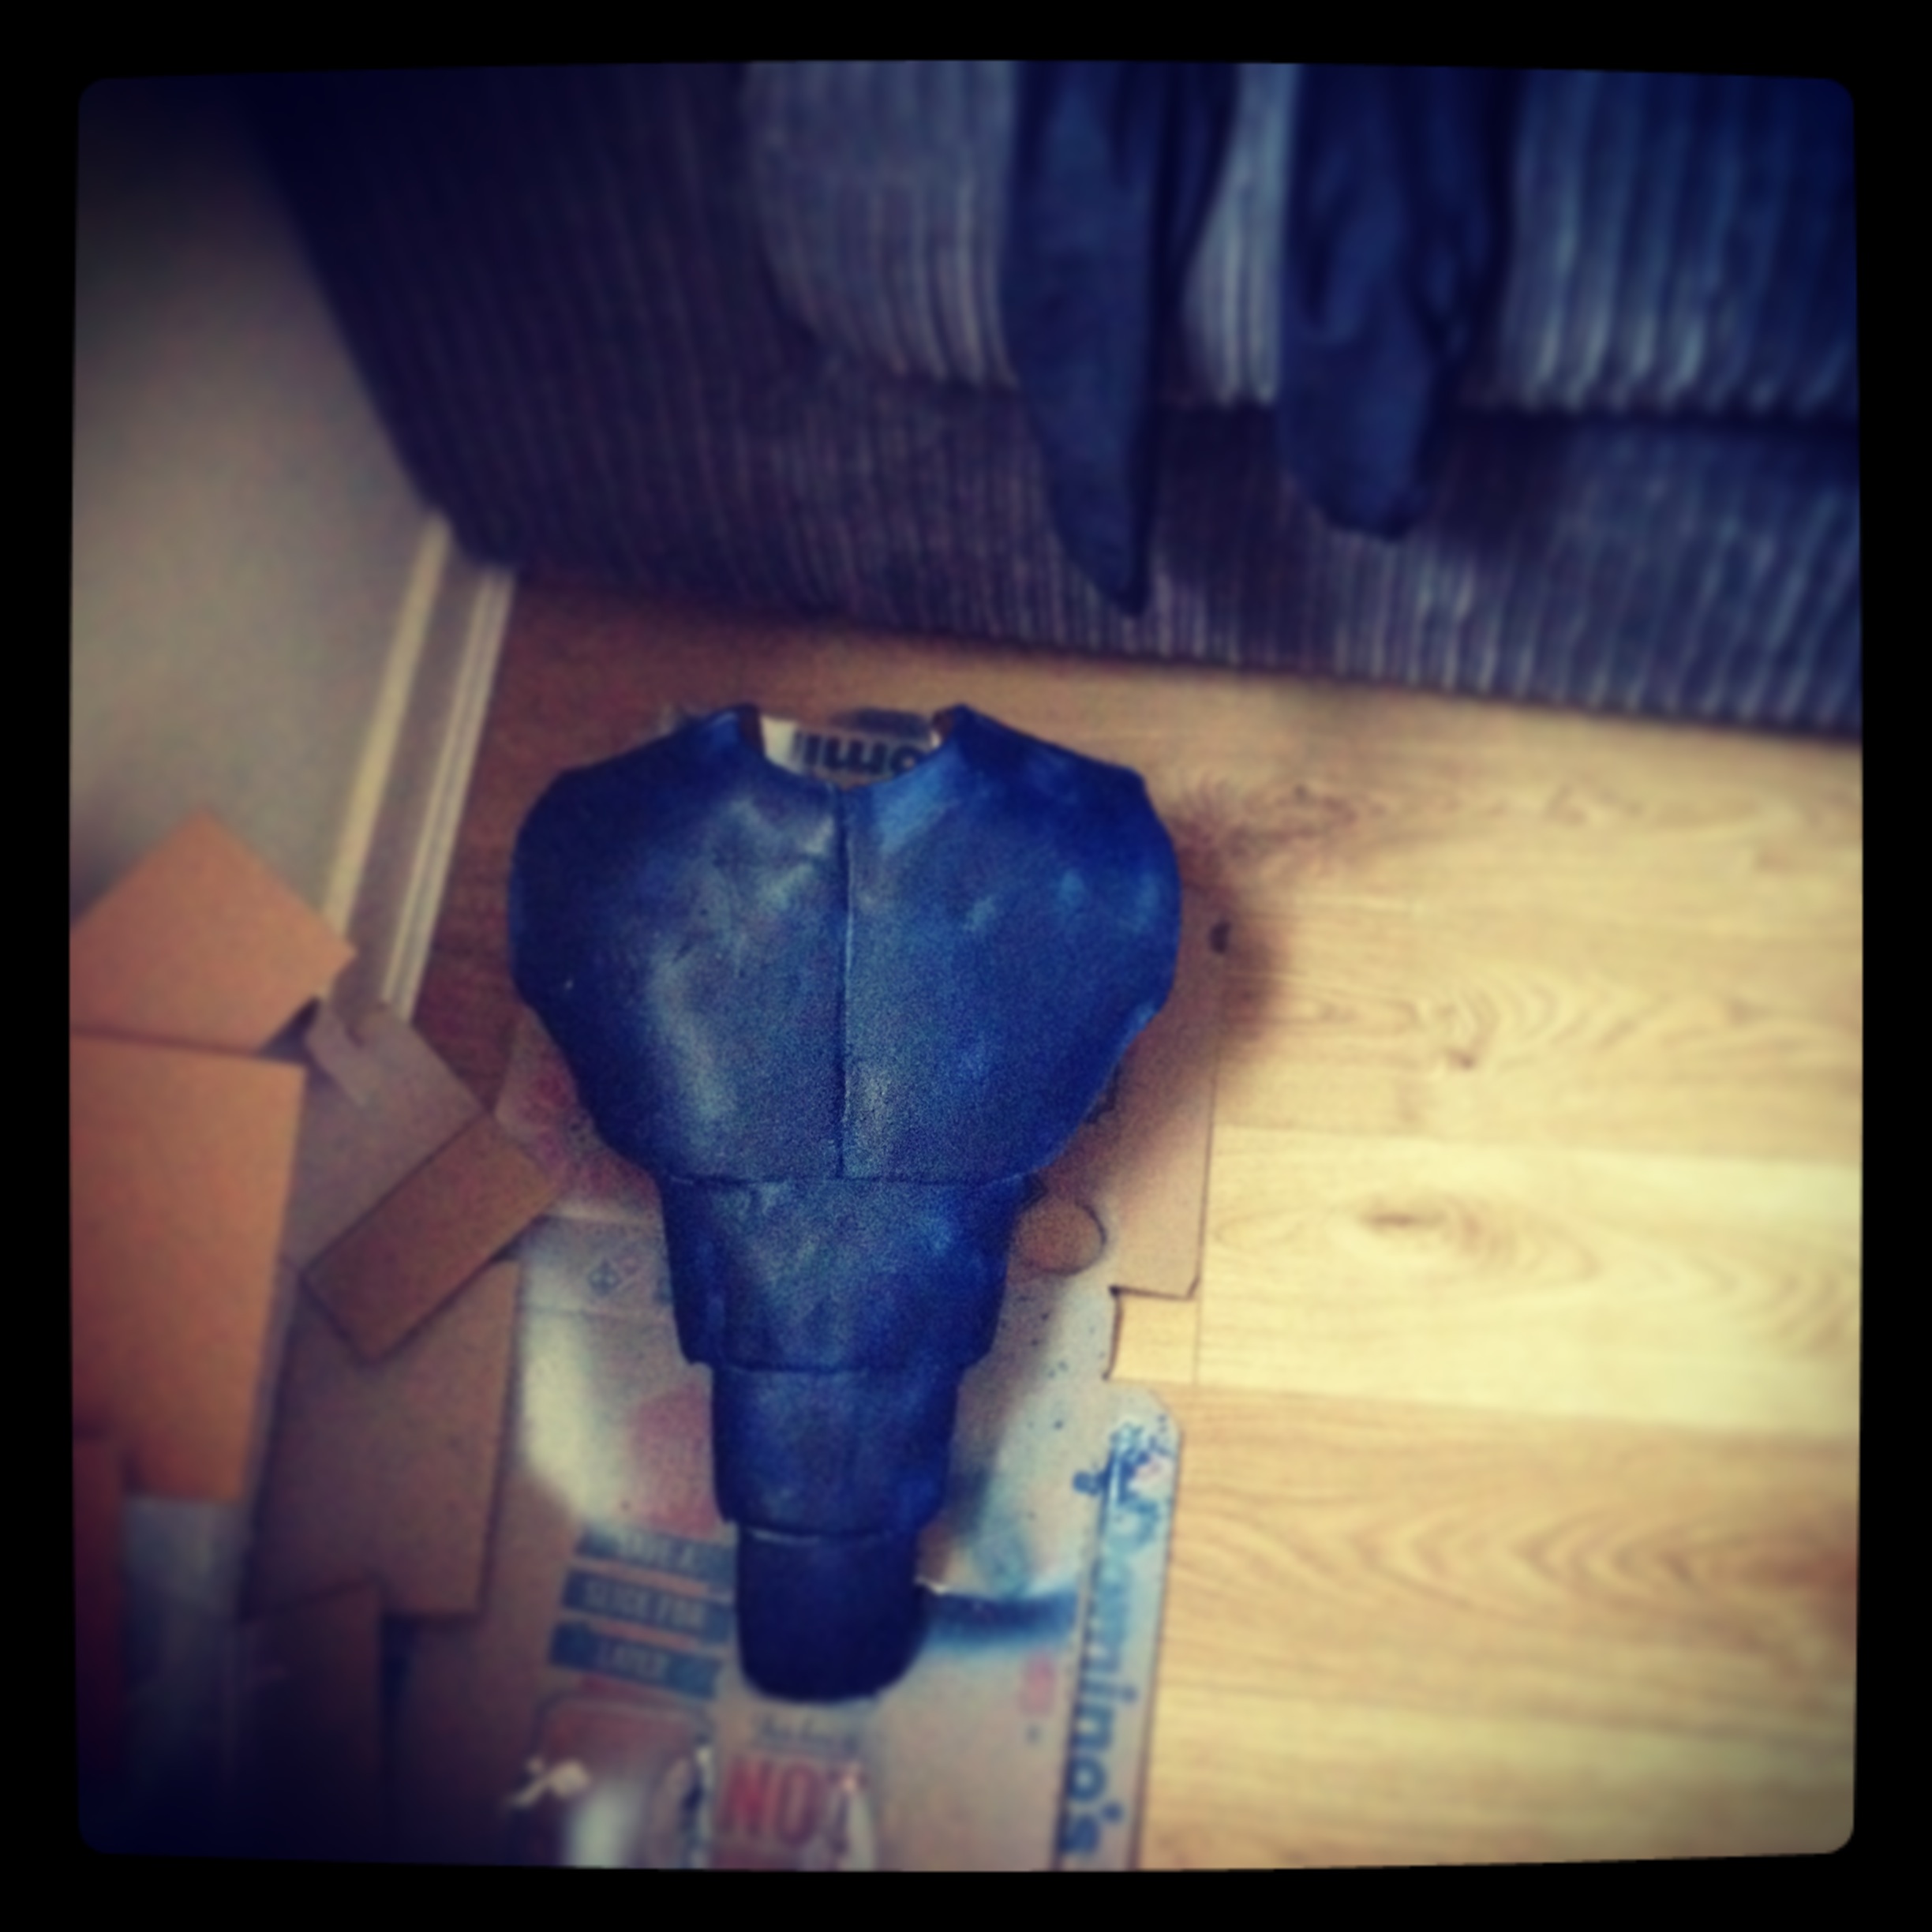
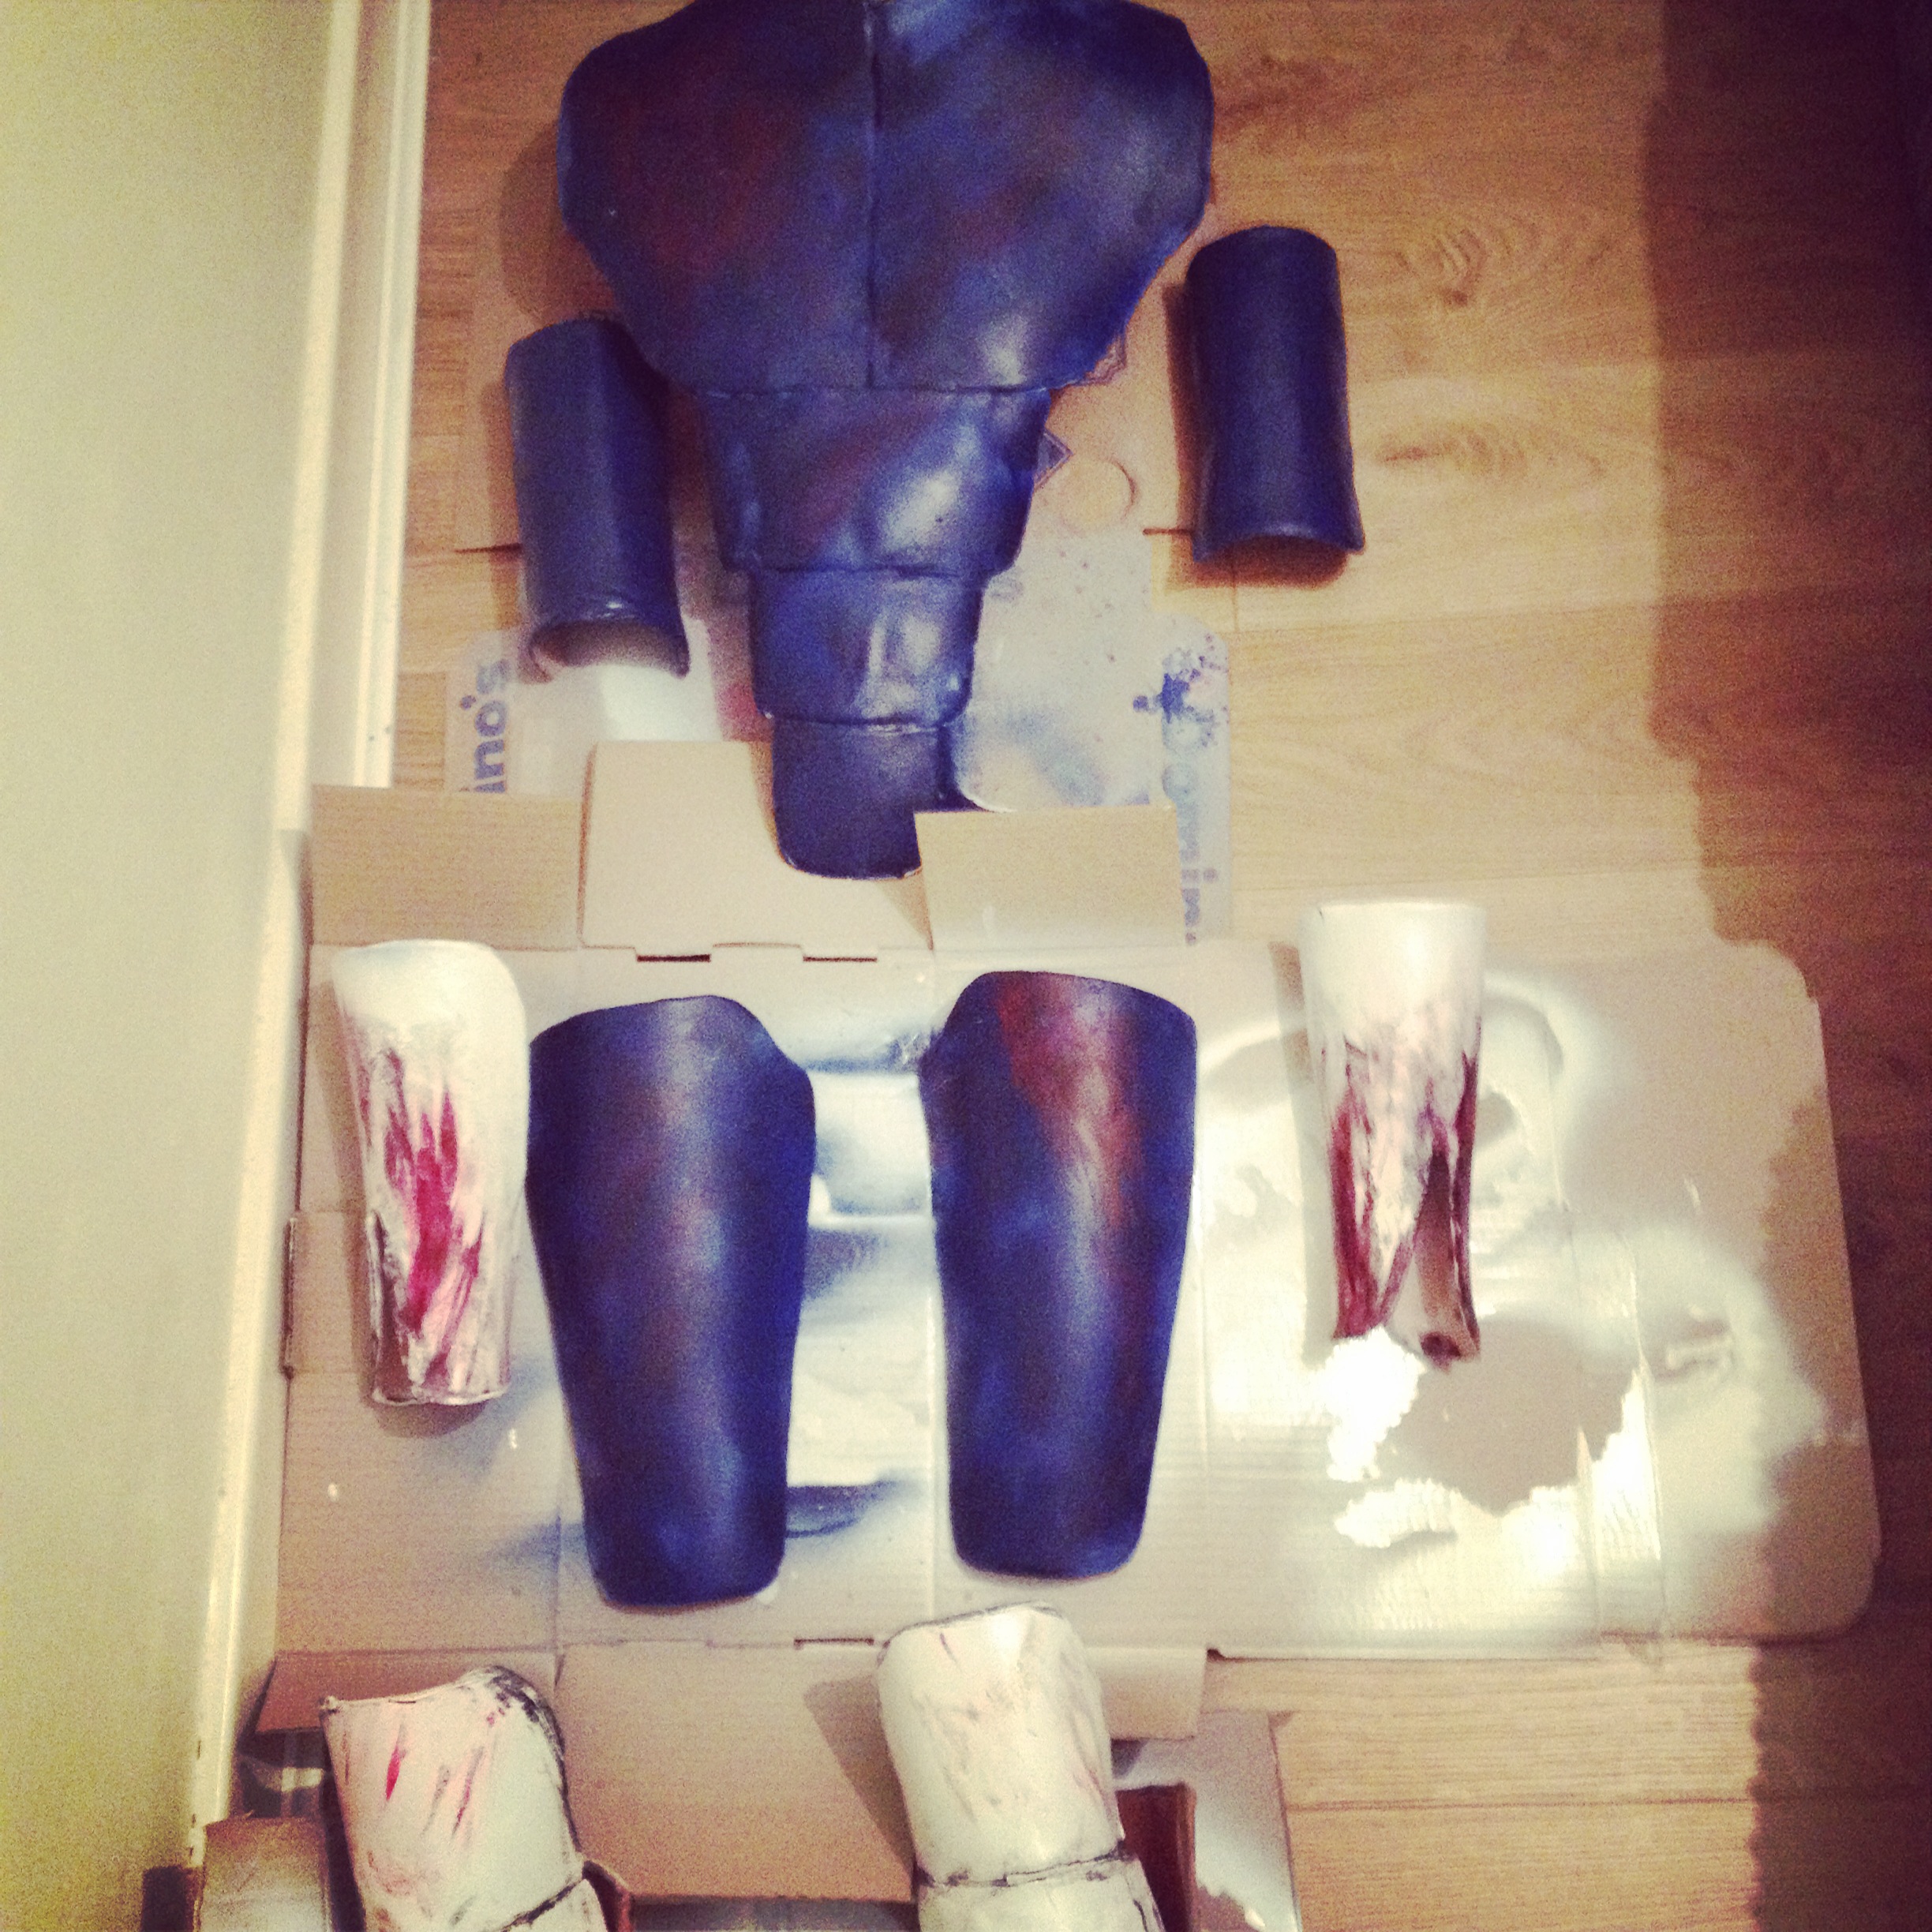
Finally I came to create the torso which really brought the whole thing together and I started to actually see my vision of Mojo Jojo come to life.
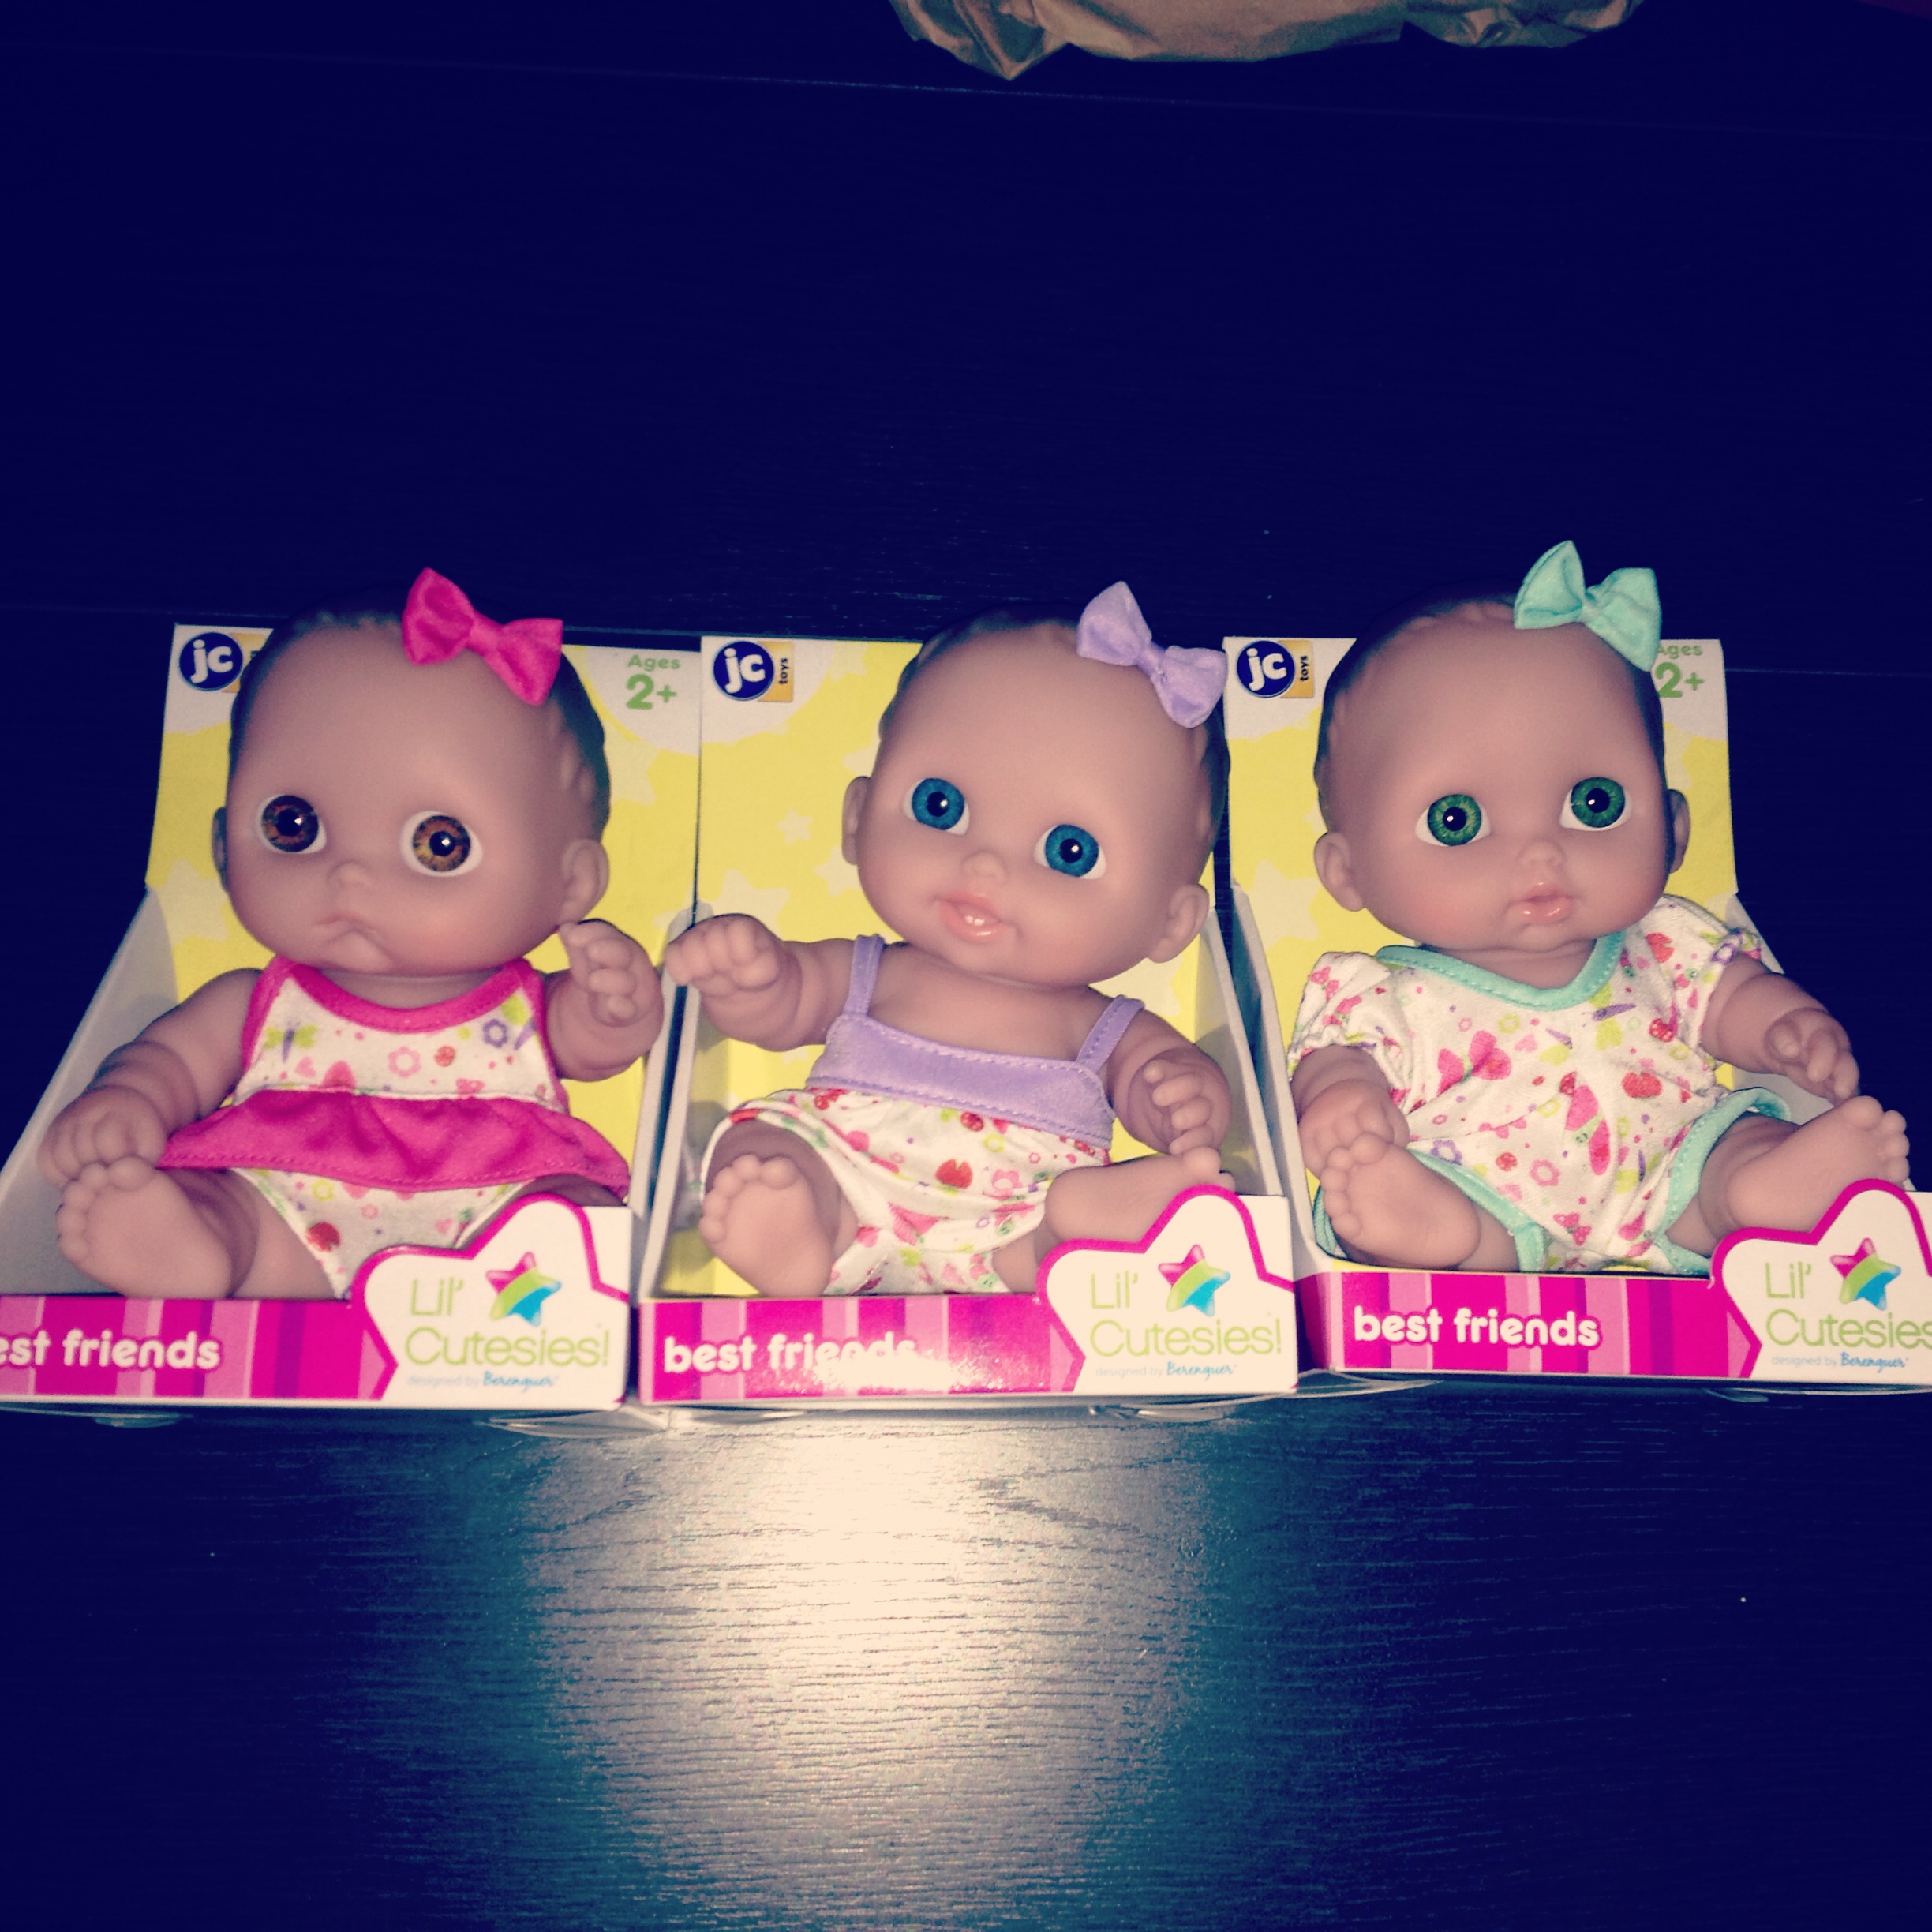
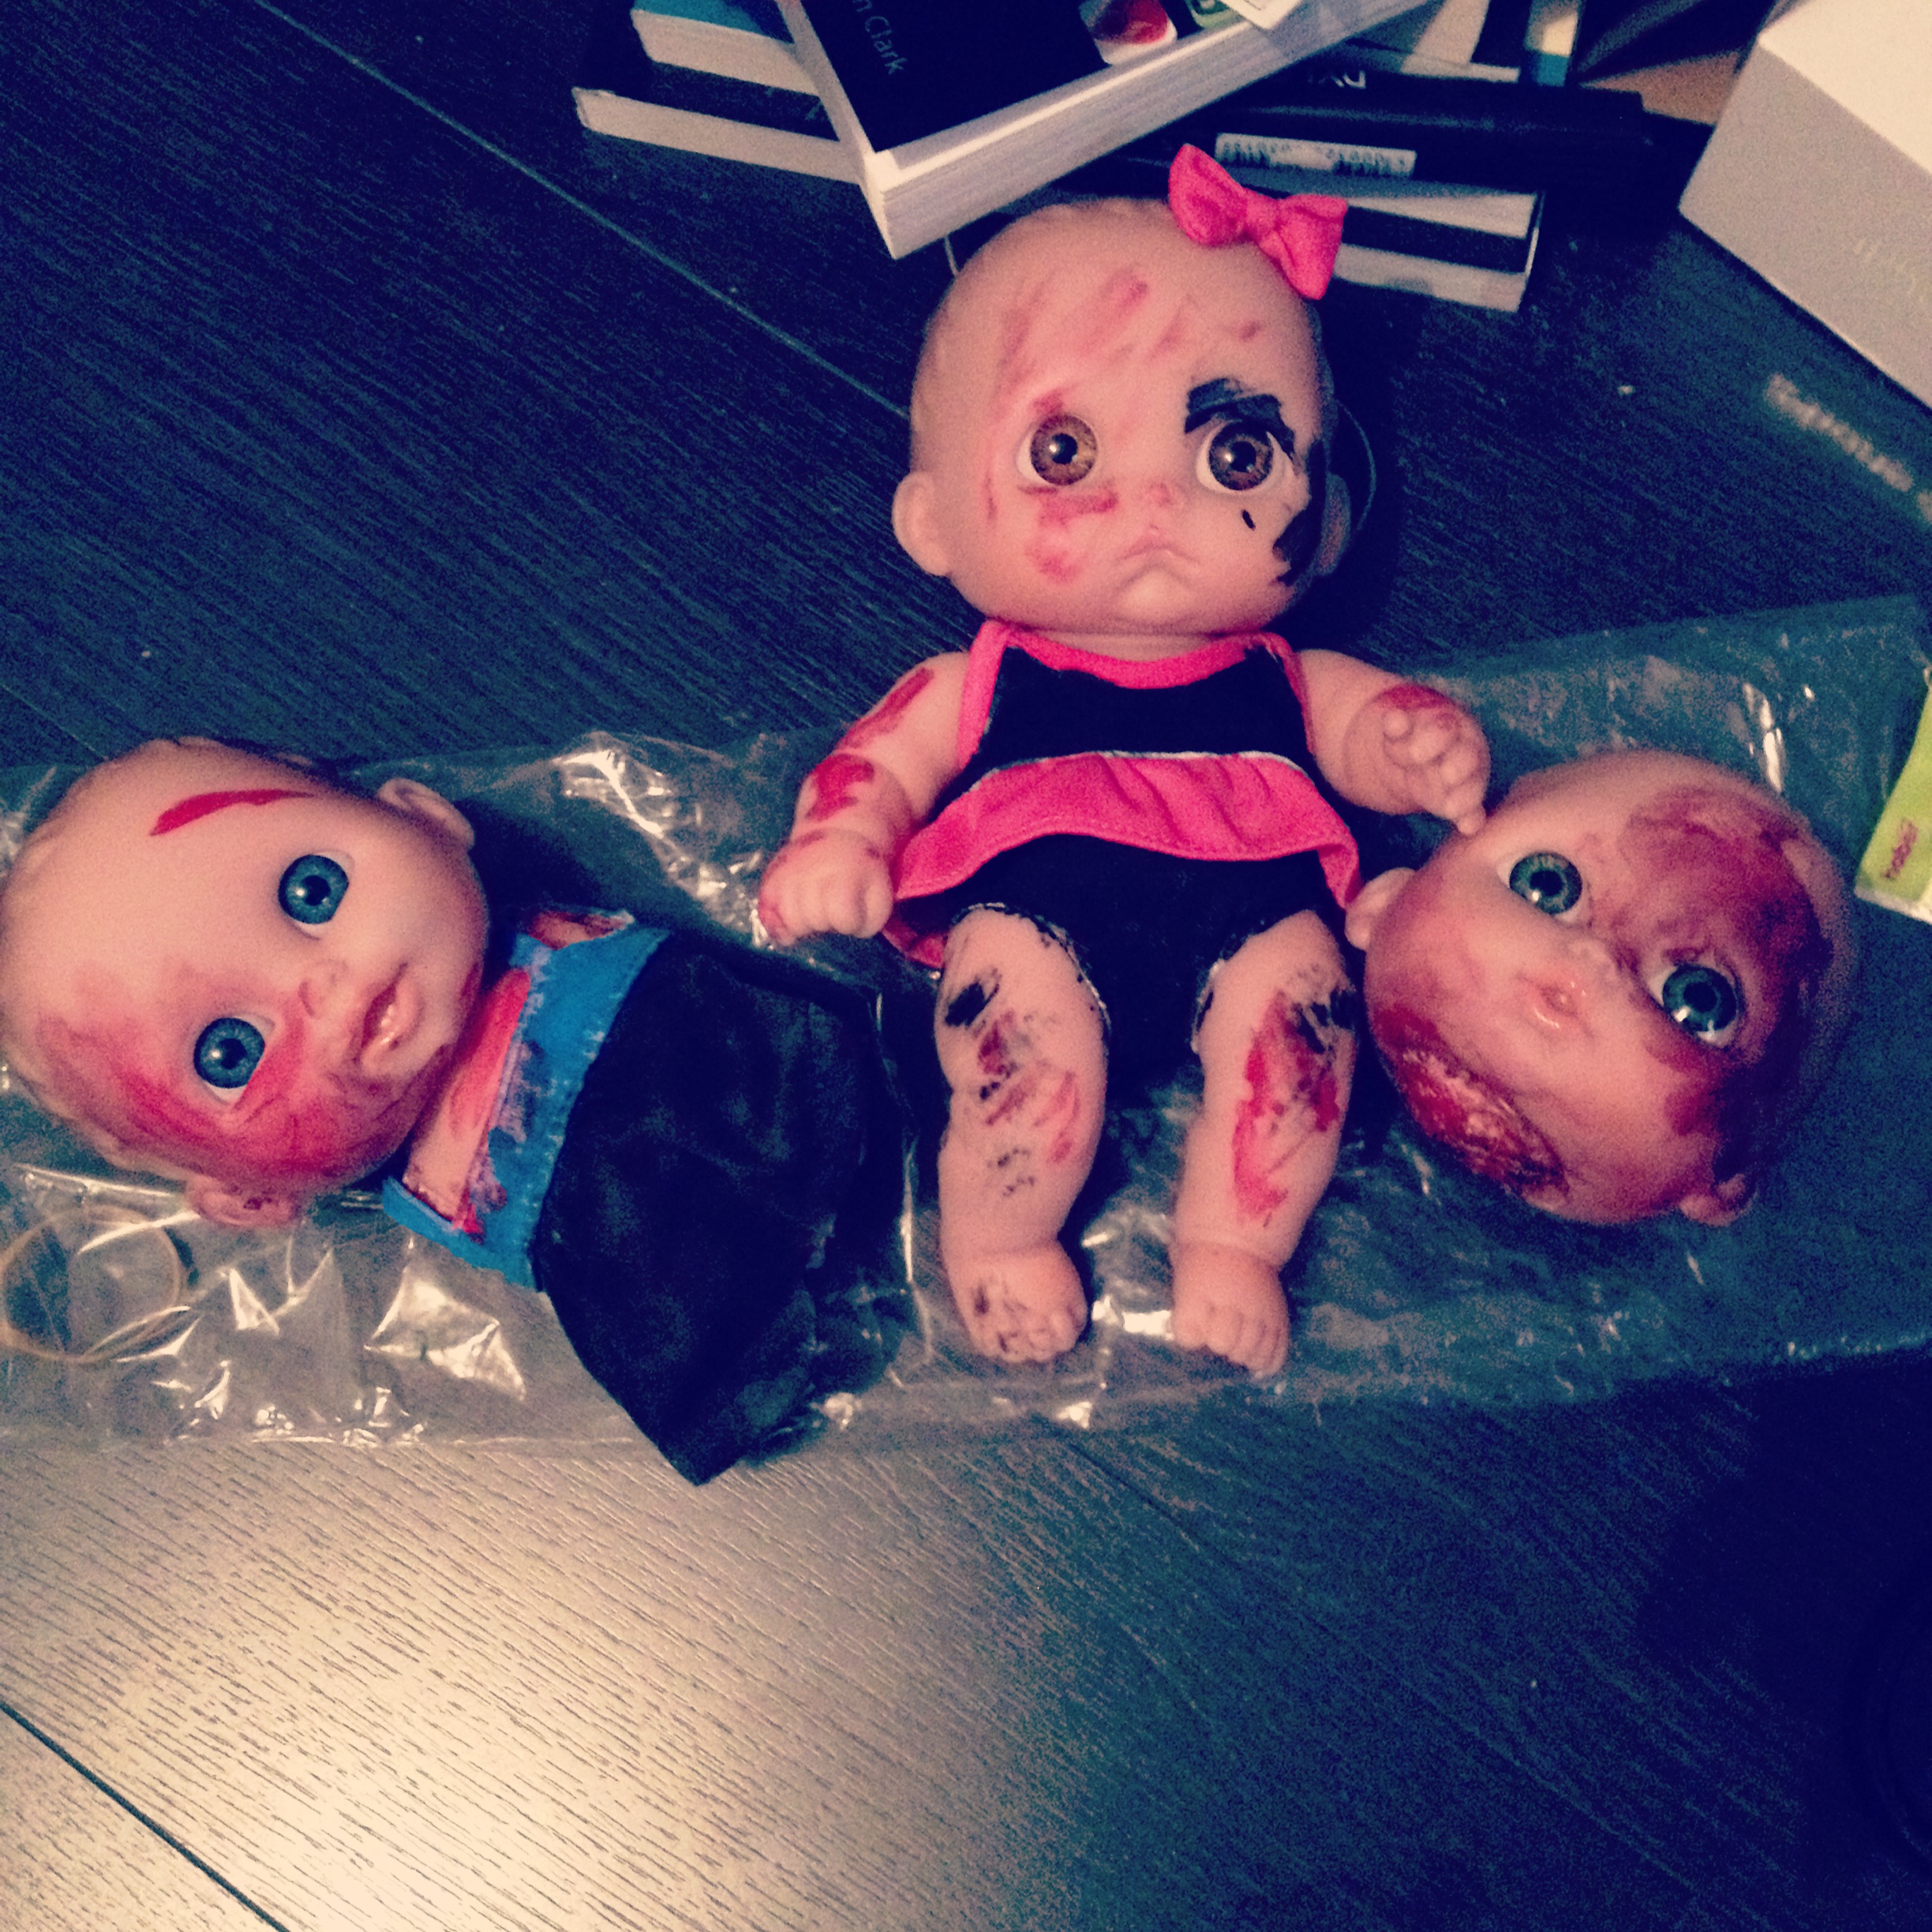
At some point I also decided it would be a good time to mutilate the dolls from the cute kids they were into the powerpuff girls. I felt a little twinge of regret...
I painted the girls using a mixture of acrylics, poster paint and felt tip. Bubbles hair (not in this picture) was a combination of tape, super glue, foam and paint.
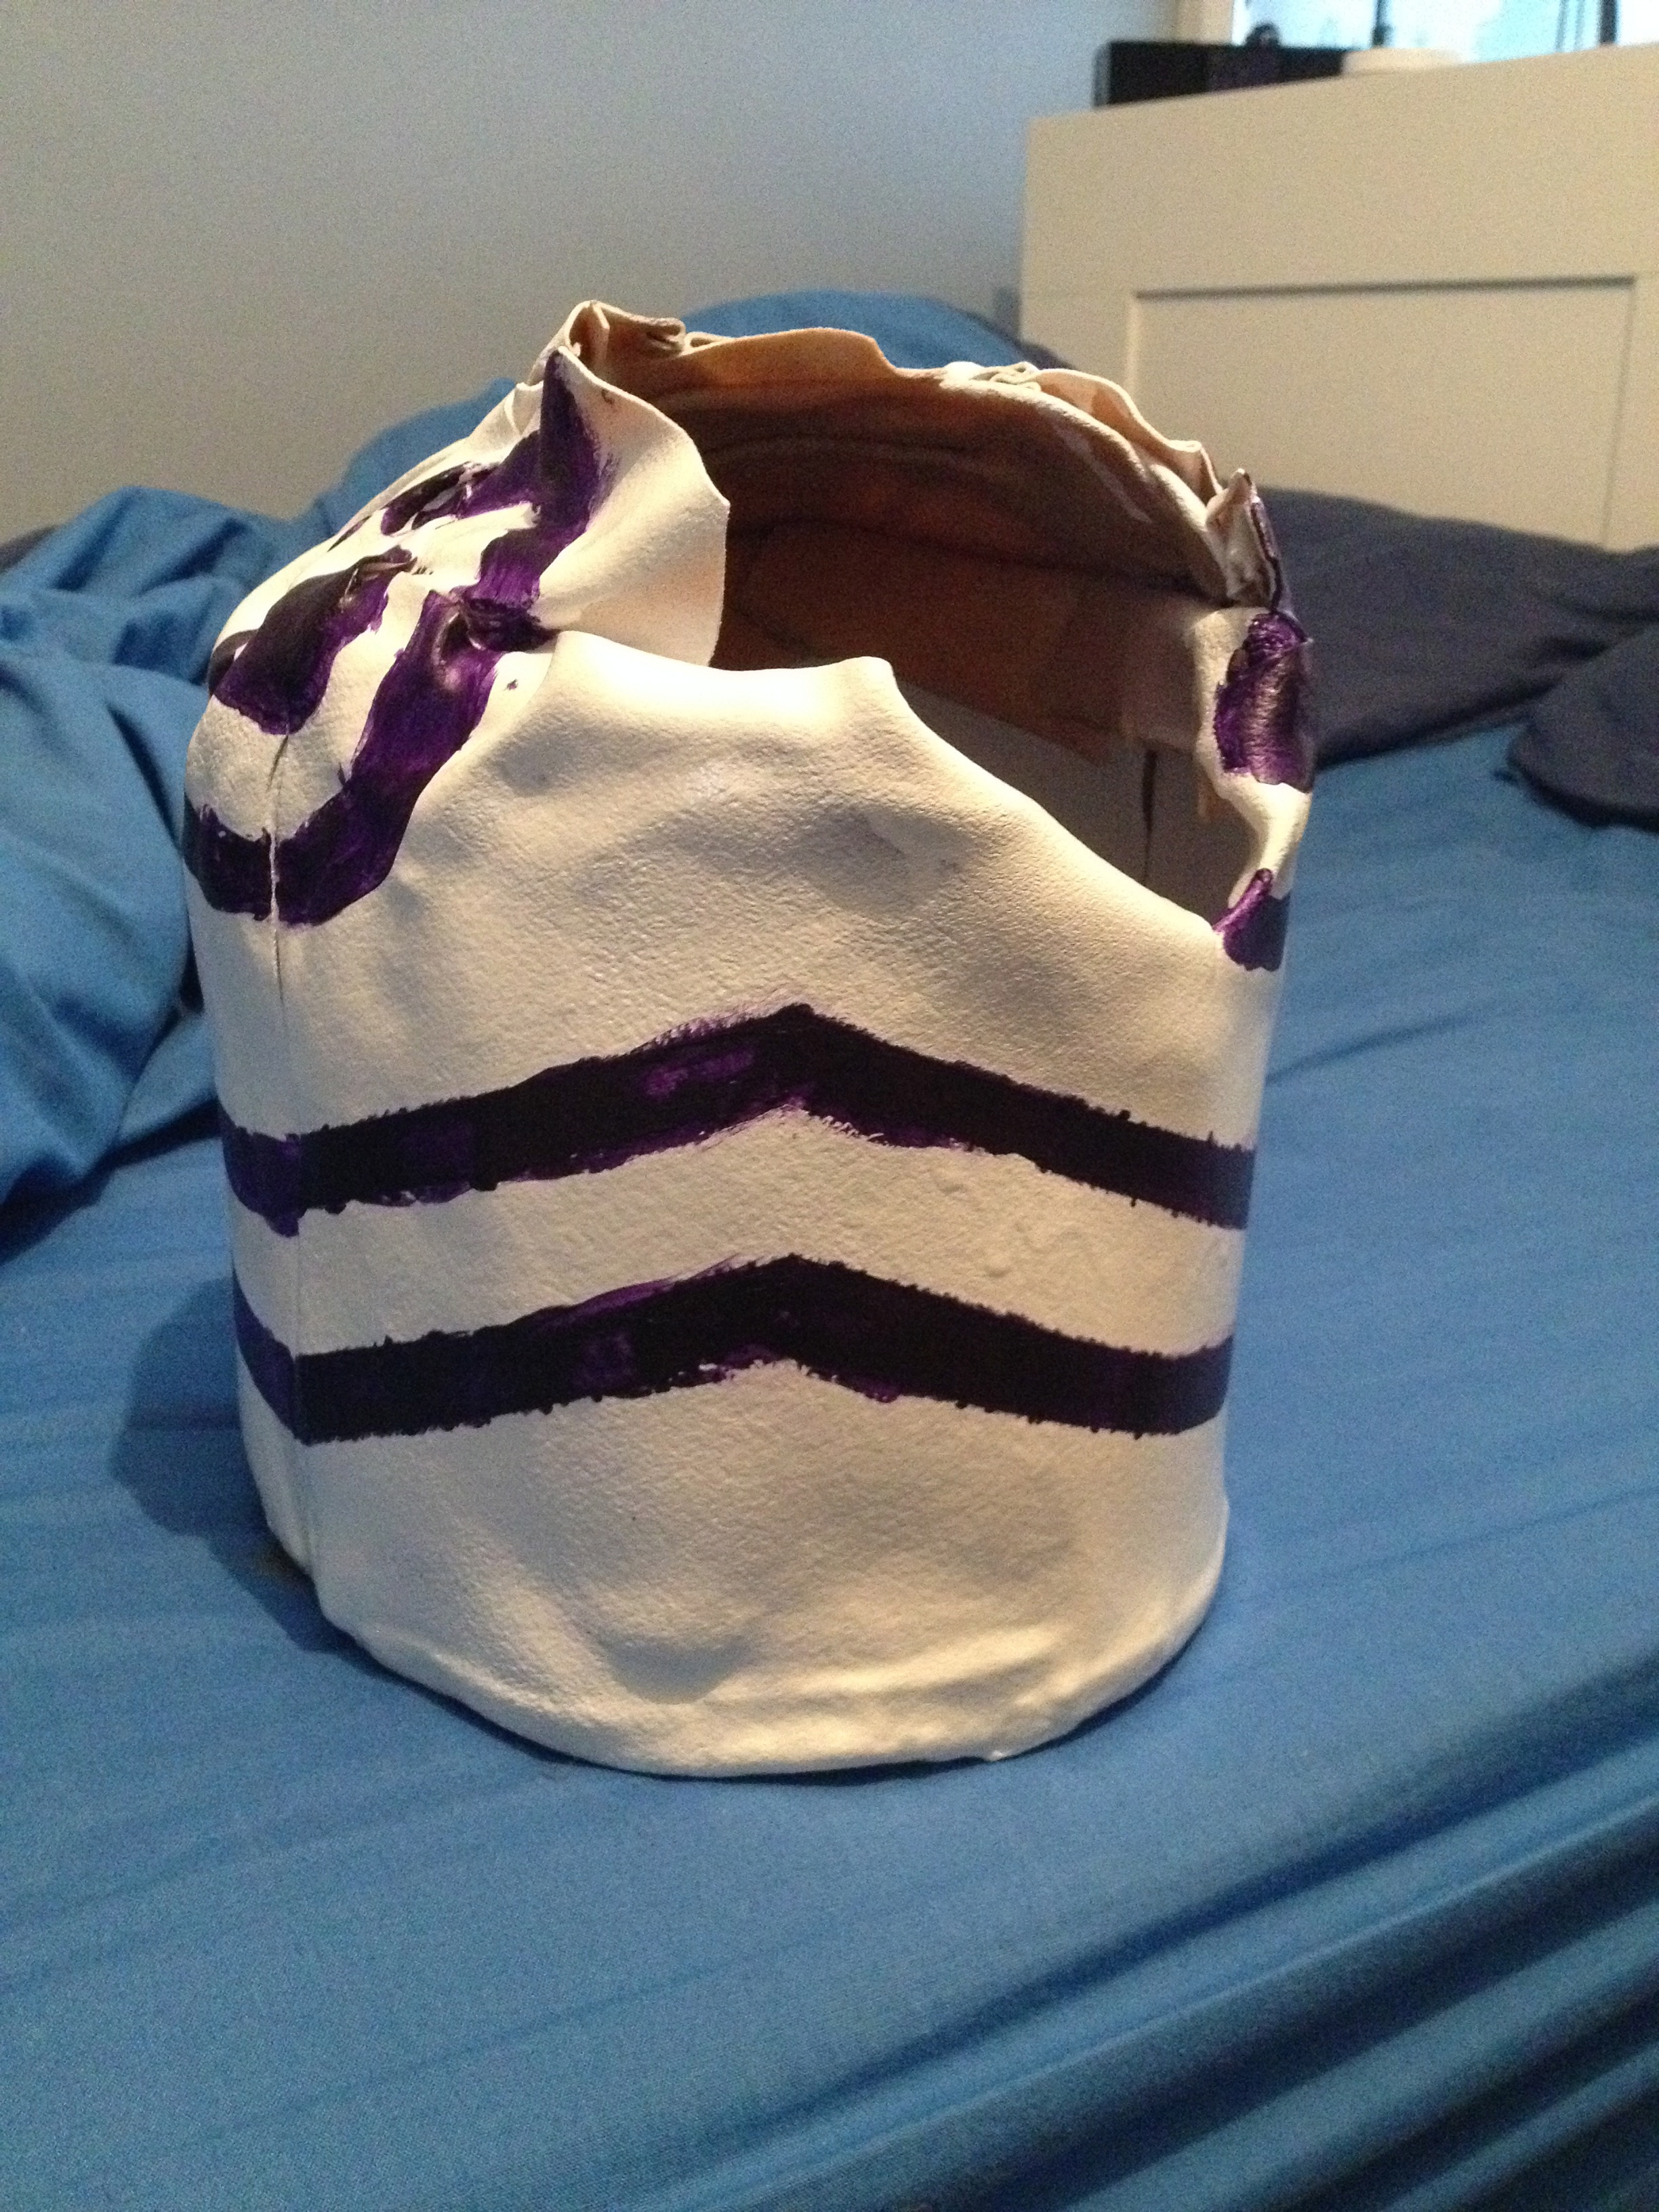
The armour was pristine when I first painted it with spray paint. Then I decided to add details to it such as dirt and blood so it looked like he had ripped the girls apart with his bare hands which turned out a little better than I thought it would.
Now at this point I had still not tested out how I was going to attach the cape or the leg pieces and was under the impression that the stick on velcro would be enough. This was the last weekend before the convention.
To cut a long story short I ended up making the decision to put it together at the convention as the velcro did not stay stuck to the second skin. So I would need to figure out an alternative while there. In this aspect I left a lot up to chance.
Moment of Truth
Finally came the Saturday morning of the convention. The moment of truth.
I got up early so I would have time to get into costume. I found that the thigh pieces would be a problem as I guessed but got around it by tying them down with some elastic.
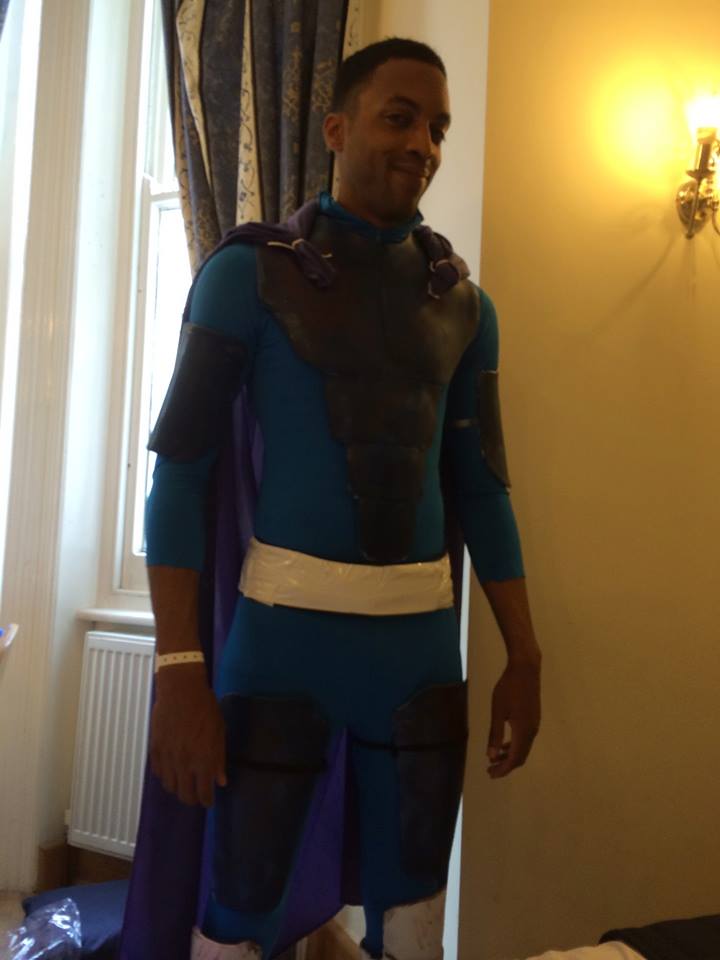
The belt seen (which held my money and phone) had to be finished in the hotel as it was elastic I could only get it on while it had no tape on it. Once on Jon taped me in before painting on the purple bit.
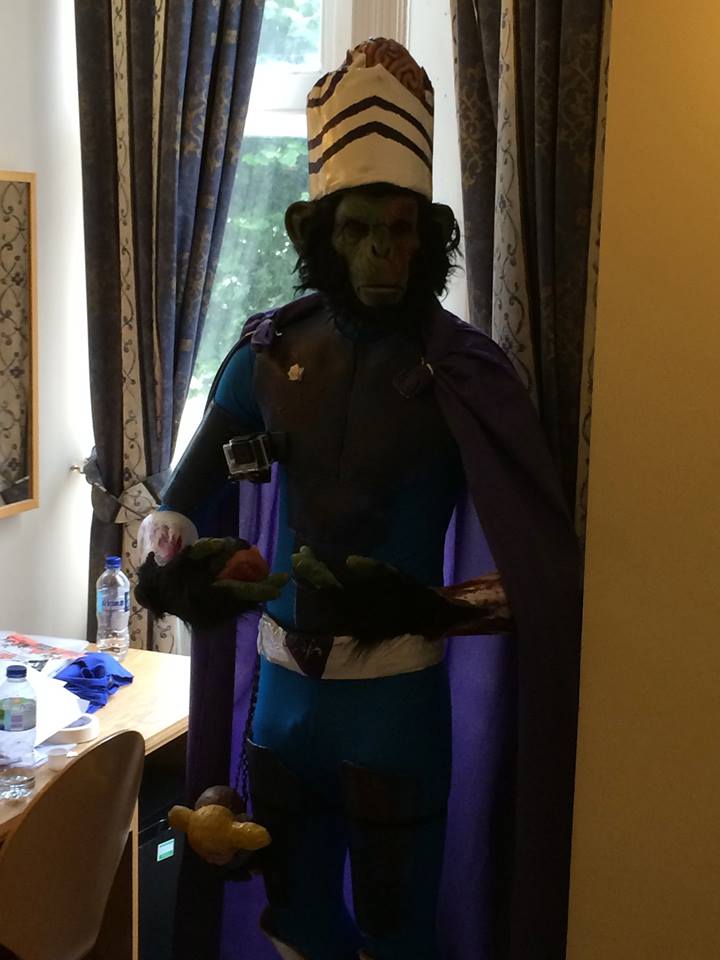
Finally finished the only thing left to do was to go to the convention and hope I got in with the mutilated dolls...
Needless to say. I did.
Pic by Food and Cosplay
Hopefully that answers all questions regarding how I went about creating Mojo Jojo.
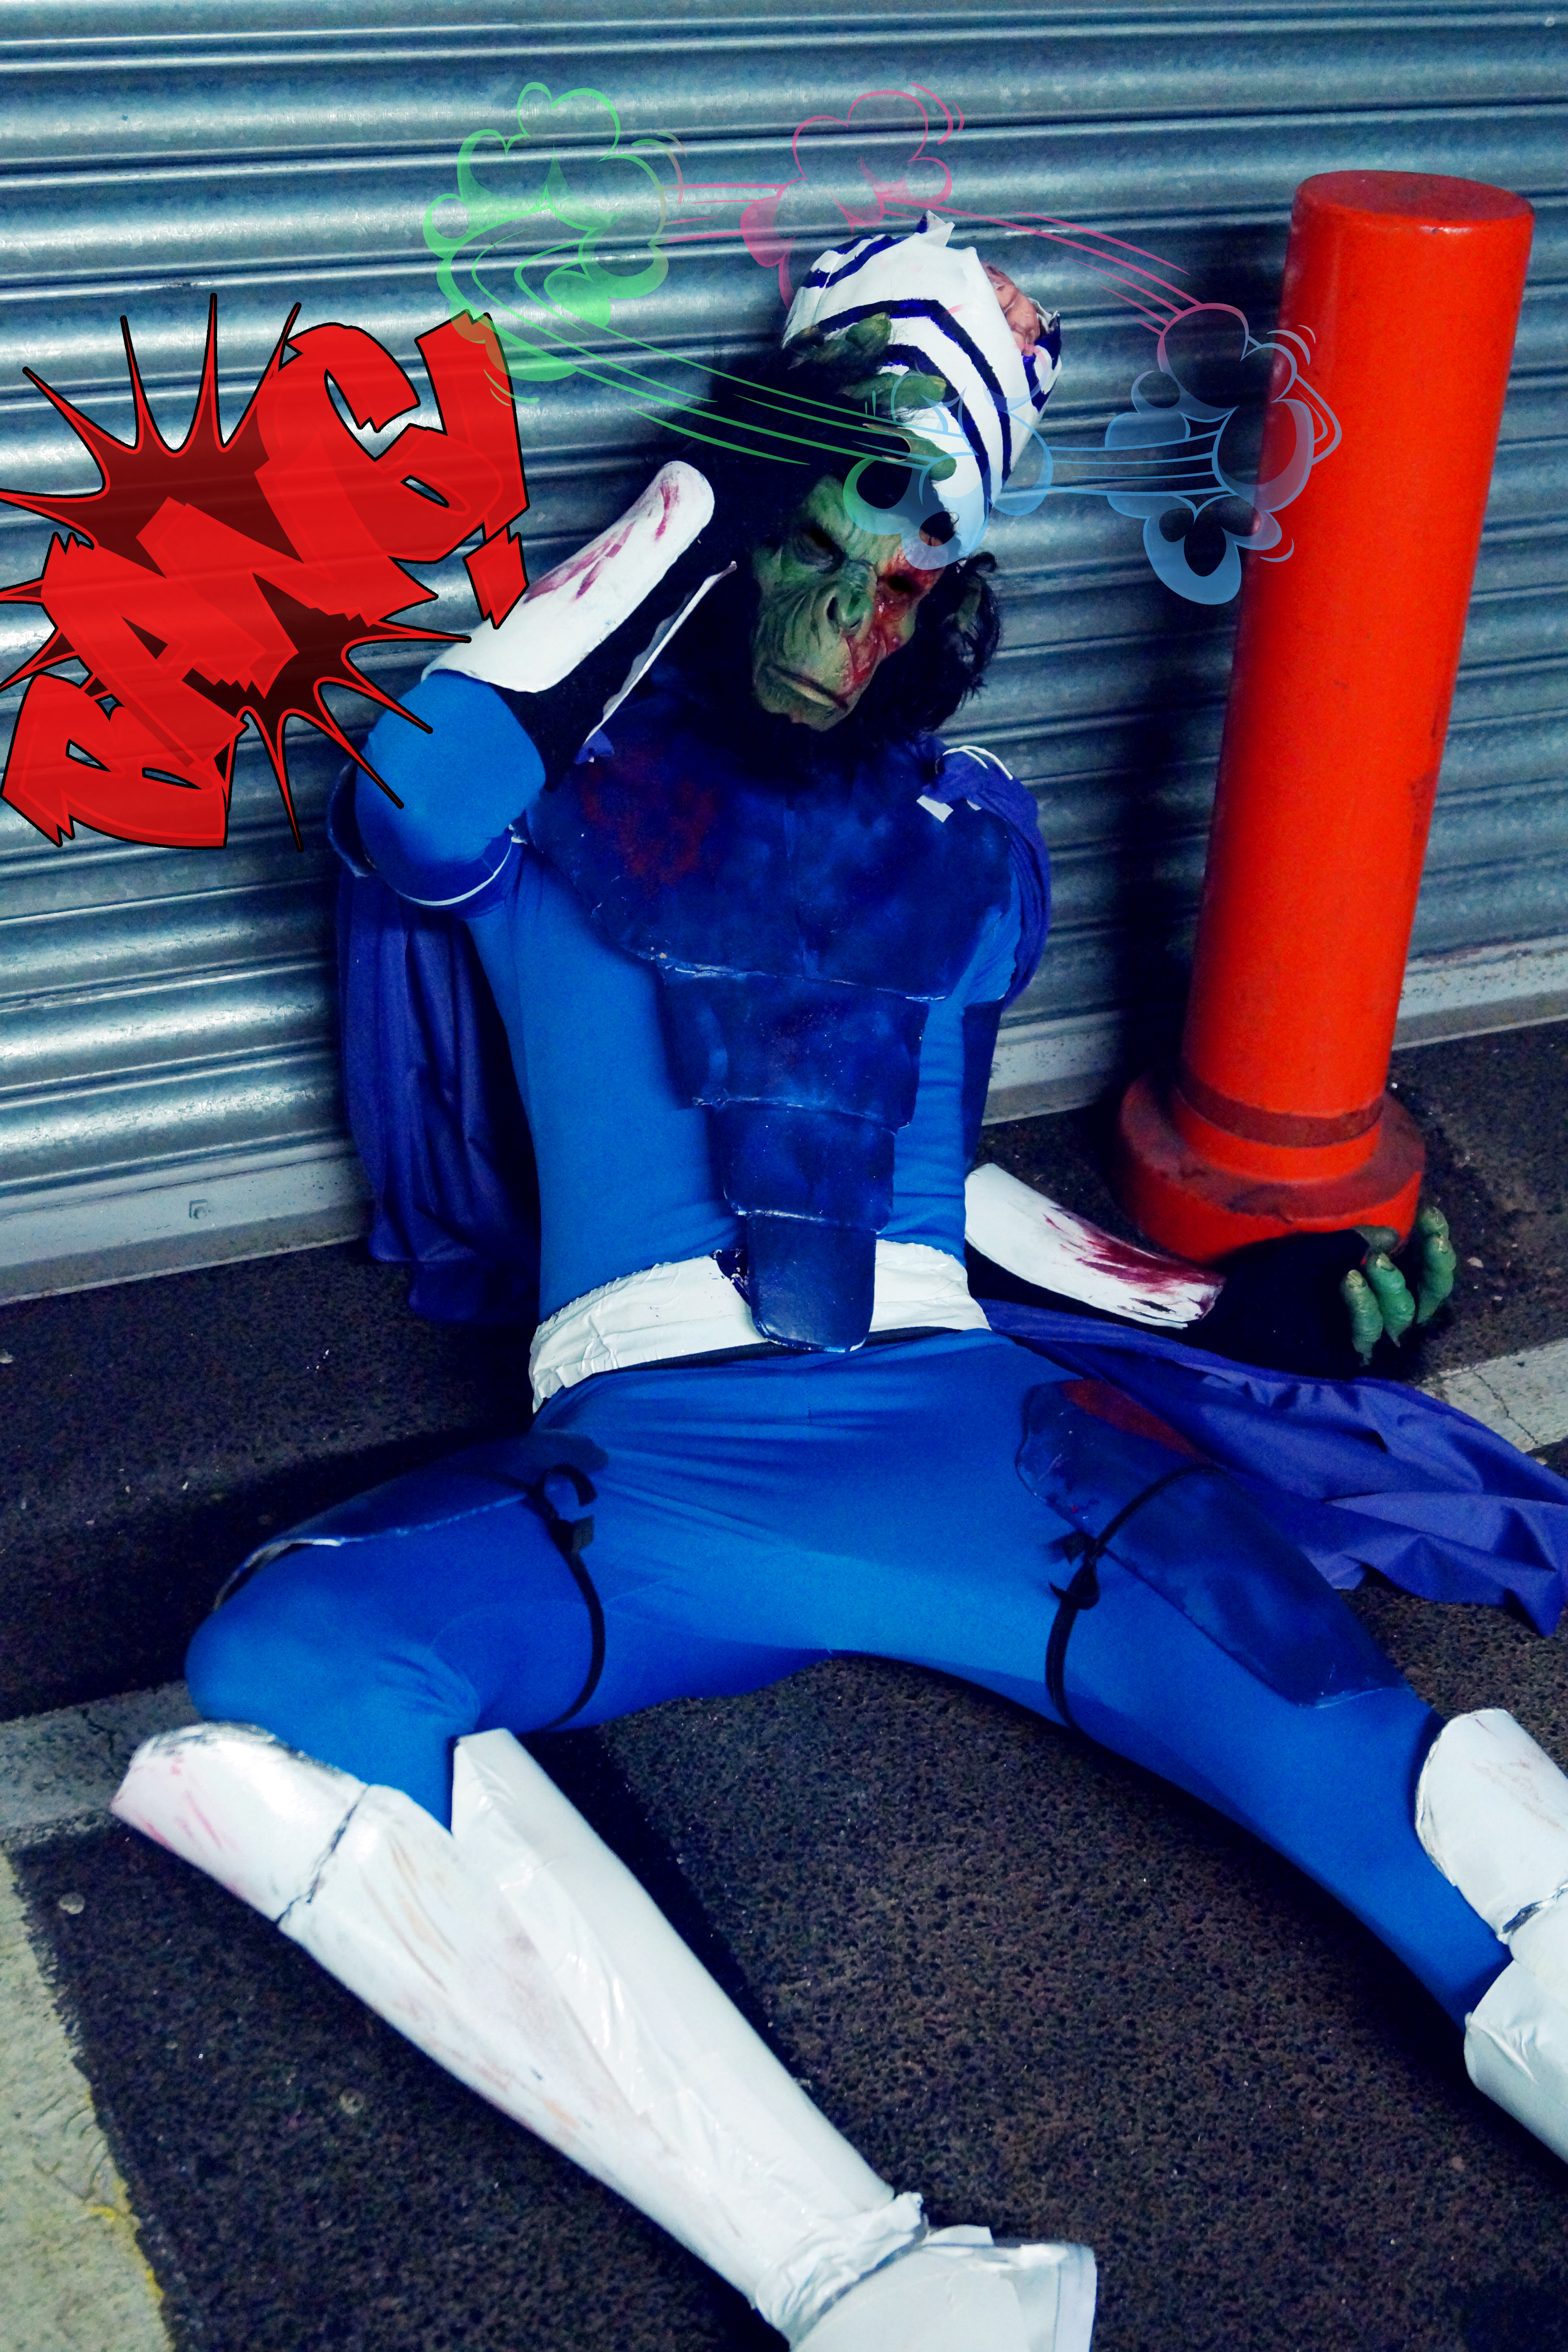
Pic by Louibyte
Unfortunately I lost an arm on the Saturday night so I will have to recreate that along with some improvements to the legs, torso and arms. Overall though it was a good first run.
If you have any questions about it do ask as I'd love to answer.
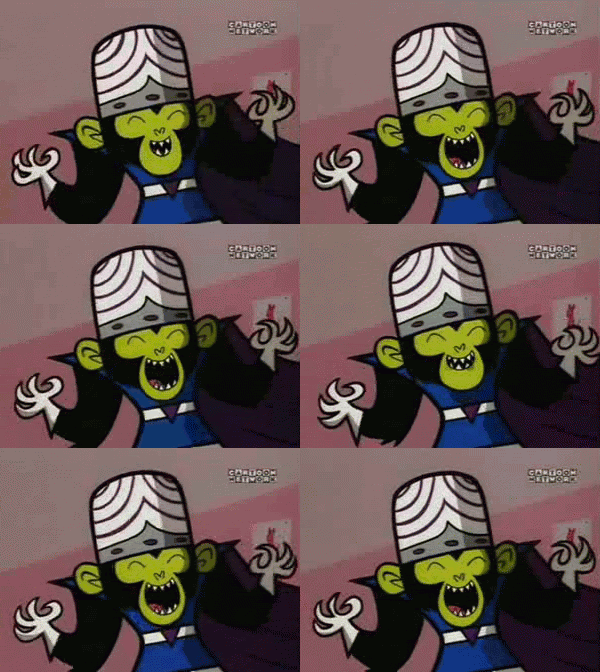
As always I'll sum it up with something appropriate.
I should also say that Mojo Jojo would not have been possible on the day without the help of my friend and helper for the day Jonathan. So thank you.
If you want to get in touch contact me
Also is you want to keep up with all my latest posts and musing there's a load of widgets at the top of the page for my Twitter, Facebook and other social channels!
Leave a comment below! I love feedback...unless it's bad.
P.S.
Don't forget to share this if you like it!
